
Hooke Road Overhead MOLLE Panel System Review: 10-Month Trail Test & Custom Gladiator Mod
Overland builds are a constant battle for interior real estate. When you run out of room on the dash and floors, the only place left to look is up. To get my communications, switch panels, and loose gear off the dash, I turned to the Hooke Road Overhead MOLLE Panel System.
After 10 months of punishing desert off-roading, here is the honest breakdown of how these panels hold up, how to fix a minor vibration issue, and how I modified the rear panel to work on a platform it wasn’t even designed for.
The Front Overhead MOLLE Panel: Prime Real Estate
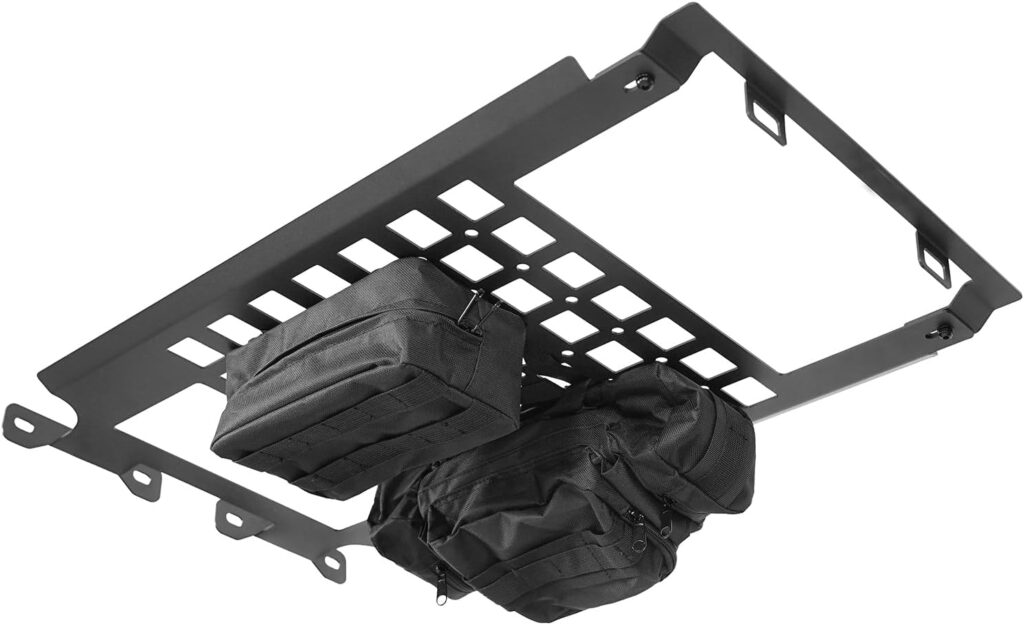
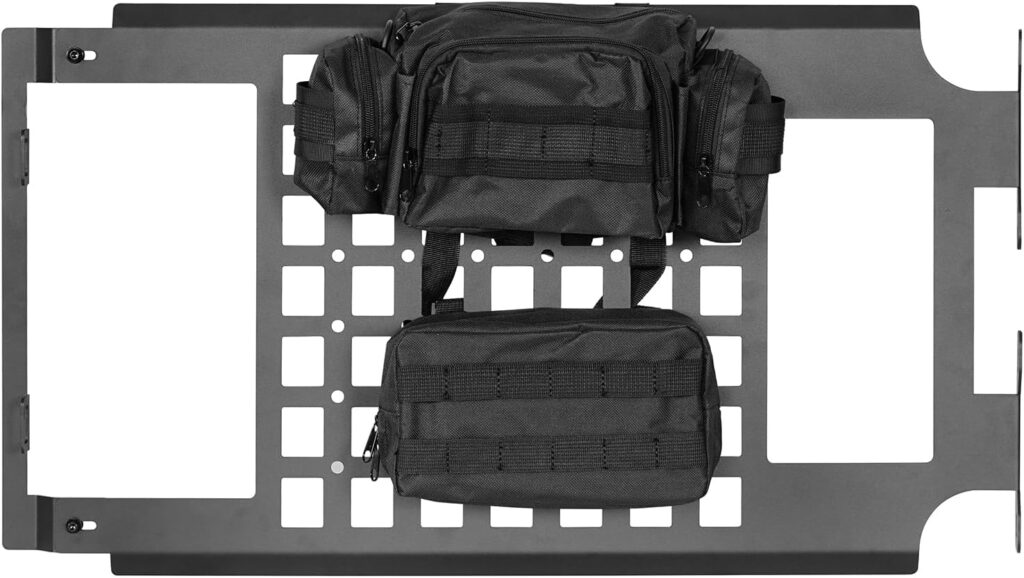
- The Installation: Straightforward and painless. It bolts directly into existing factory points without needing to drill or alter the interior.
- Gear Integration: This panel is perfect for high-priority gear. It easily accommodates a switch panel, GMRS/radio mounts, and quick-access tools right above the rearview mirror where they are easy to reach but out of your line of sight.
- The 10-Month Reality Check: After nearly a year of continuous washboards and rough trails, the front bolts eventually shook loose from the constant vibration. The Fix: Back the bolts out, apply a bit of blue Loctite, and re-torque them. They haven’t budged since.
The Rear MOLLE Panel: The Custom Gladiator Mod
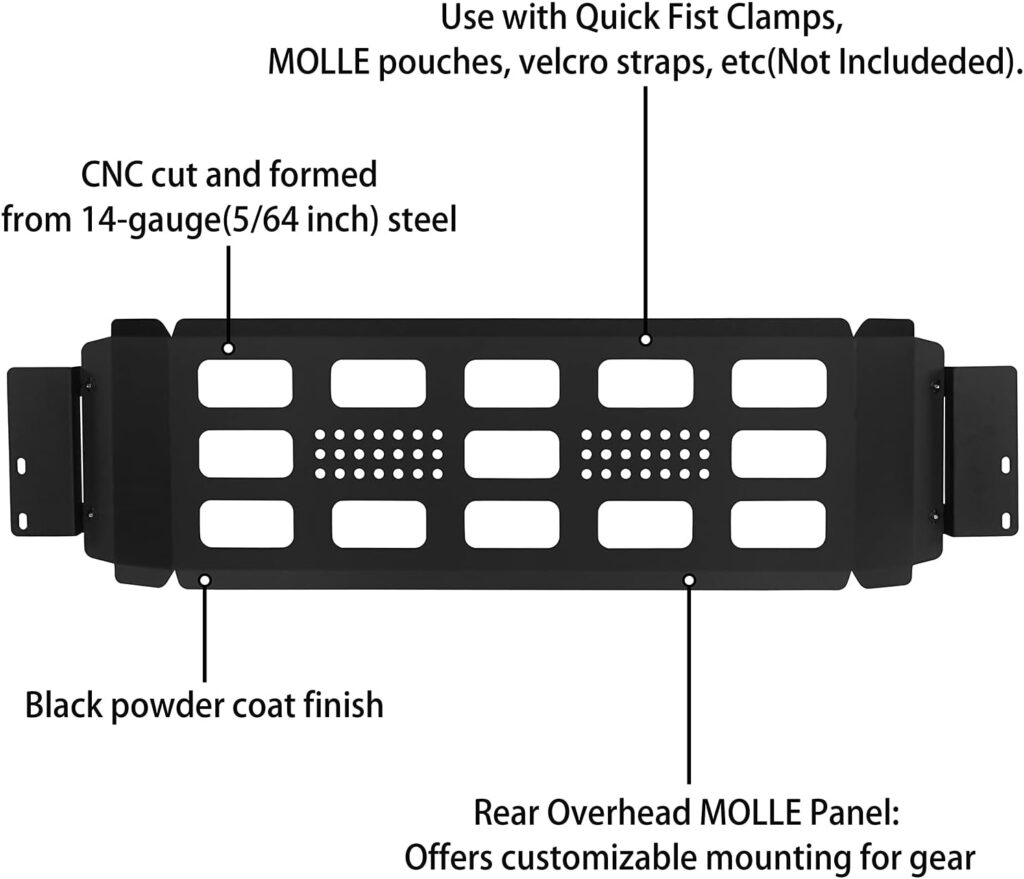
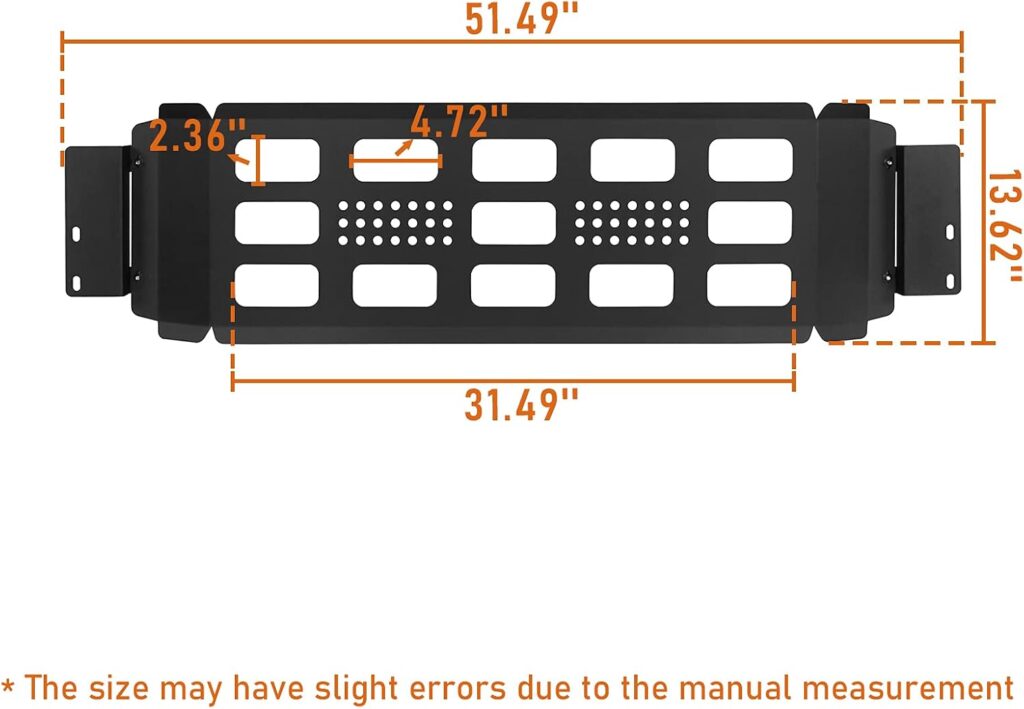
- The Compatibility Challenge: The rear panel is not natively designed for the Jeep Gladiator. However, with a little trial and error, it can be repurposed.
- The Slot Design Flaw: Unlike the front panel, which features standard, uniform MOLLE mounting slots, the rear panel utilizes non-standard slot dimensions. This makes attaching standard MOLLE straps or universal gear clips a challenge, requiring some creativity with hardware or zip ties to secure your items.
- The Custom Fit & Flip Trick: I managed to secure the panel into the rig using a single mounting point. Instead of mounting it right-side up, I installed it upside down. Flipping the panel maximizes overhead clearance for storing out-of-the-way items tighter against the roofline, keeping them secure and out of your rearview line of sight.
- The Passenger Trade-off: While flipping the panel upside down keeps your gear tightly tucked away, the main drawback is that it does eat up a bit of headroom for your rear-seat passengers.
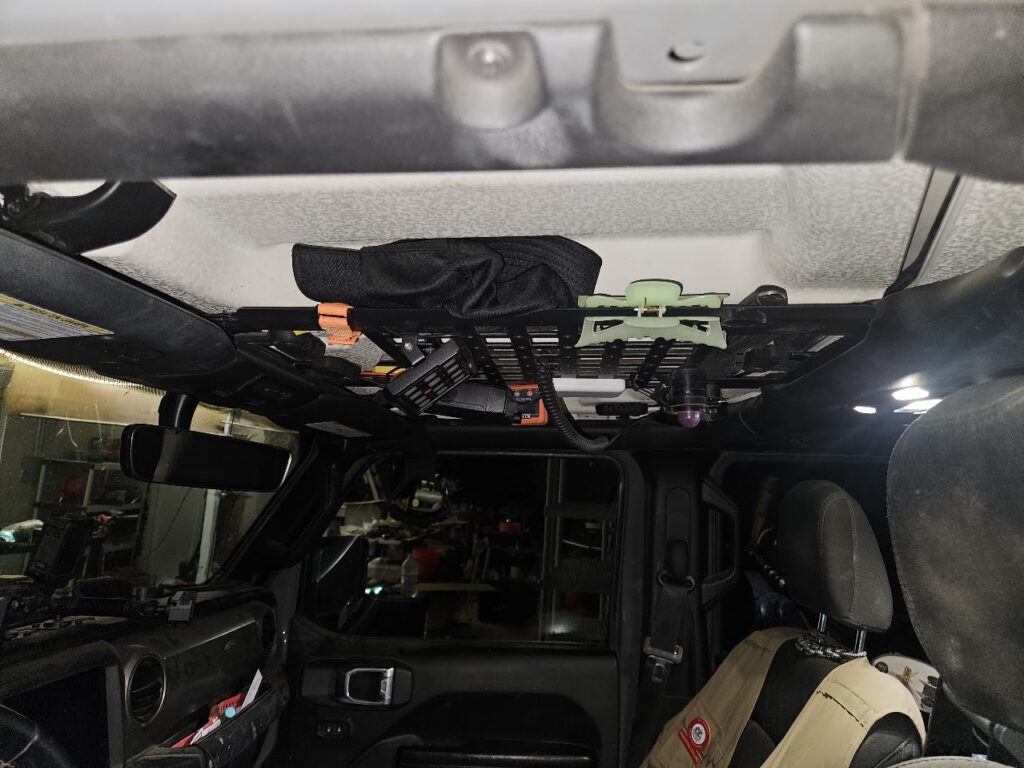
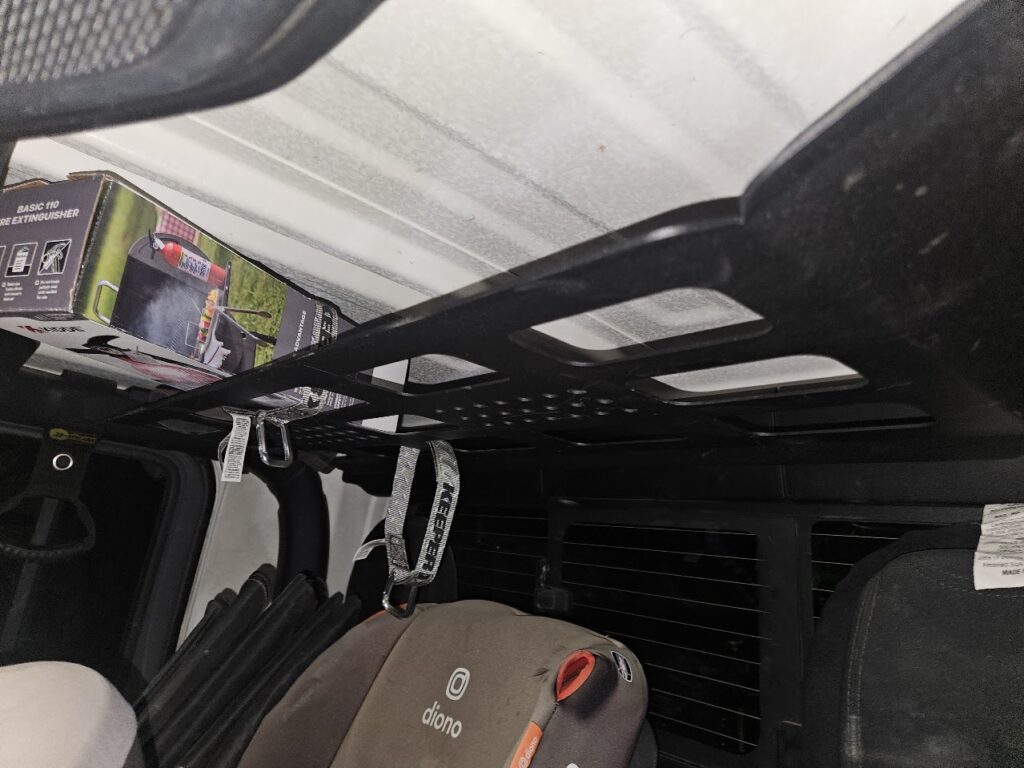
Pros & Cons
Pros:
- Rock Solid Gear Mounting: Both panels hold brackets, clips, and heavy comms equipment without sagging or bending.
- Dead Space Utilization: Clears the dash entirely, improving forward visibility and cabin organization.
- Customization Flexibility: The front grid allows you to mount almost anything using standard MOLLE straps.
Cons:
- Non-Standard Rear Grid: The rear panel lacks standard MOLLE spacing, limiting straightforward gear attachments.
- Reduced Rear Headroom: Mounting the rear panel upside down compromises cabin space for back-seat passengers.
- Hardware Vulnerability: The supplied hardware lacks threadlocker, making it prone to backing out under sustained trail vibrations.
- Fitment Limitations: Requires creative fabrication or modification if you are adapting the rear panel to a Gladiator.
The Verdict
If you need to declutter your cab, the Hooke Road front panel is a no-brainer—just make sure you use Loctite during the initial installation to save yourself a headache down the road. If you drive a Gladiator and want matching front and rear overhead storage, be prepared to do some custom positioning. Flipping the rear panel upside down yields an incredibly clean, high-clearance solution for your gear, just keep in mind that your rear passengers will sacrifice a bit of headroom in the process.