

This Hooke Road Gladiator rear bumper review breaks down everything you need to know about upgrading the rear armor on a Jeep Gladiator JT. Upgrading rear armor is critical for protecting the vulnerable rear bedside quarter panels, gaining dependable recovery points, and adding integrated step functionality. To complement our front trail armor, Samantha and I picked up the Hooke Road Aftermarket Rear Bumper w/ Bedside Slider Steps & LED Spotlights For 2020-2026 Jeep Gladiator JT Models with OEM Rear Bumper Frame Mounts (Part #B7019S), which you can find directly on HookeRoad.com or grab via Amazon.
Here is the honest breakdown of how the Hooke Road rear bumper unboxes, what hardware and bracket challenges you will run into on a Sport trim, and how it holds up on the trail.
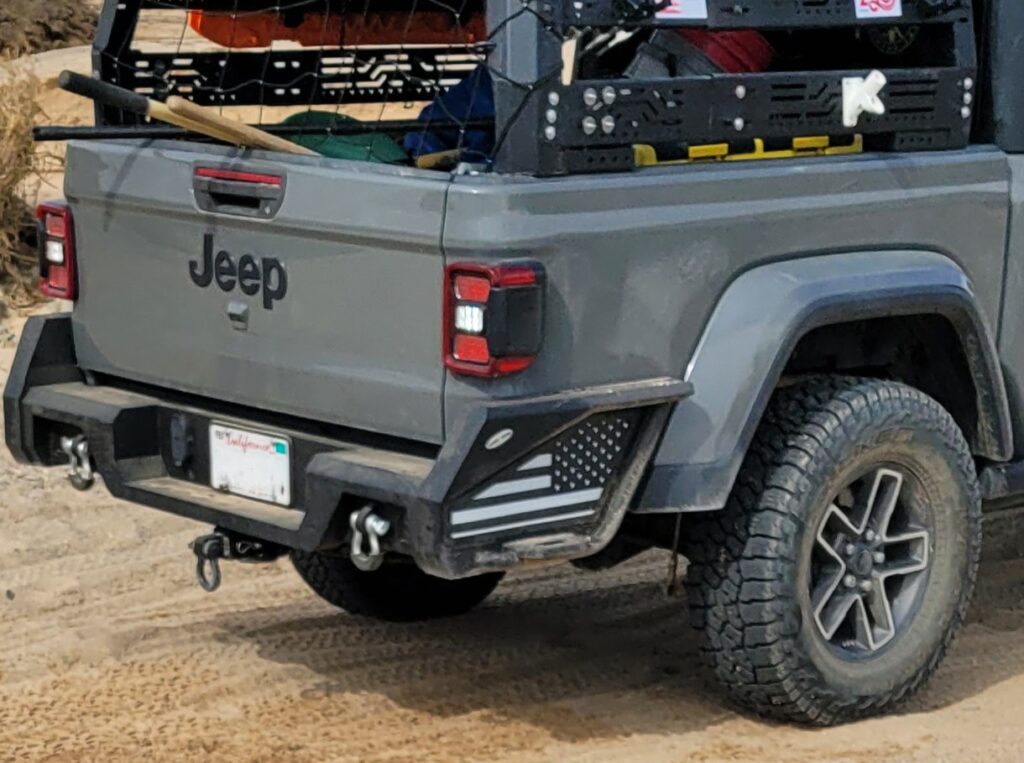
Table of Contents
Unboxing & Delivery Reality Check
I placed the order directly on Hooke Road’s website for $499.99 on Wednesday, July 22, at 12:29 PM. As documented for this Hooke Road Gladiator rear bumper review, the shipment arrived via standard FedEx freight in two days, packed alongside the front bumper.
- Packaging Condition: The package arrived in a heavy corrugated box. While the outer box showed standard freight transit wear, the internal protection was night and day compared to the front bumper.
- Expanding Molded Foam: Unlike the loose Styrofoam blocks on the front bumper that allowed powder-coat rub-through, this rear bumper was completely encased in high-density expanding molded foam.
- Finish Arrival: The textured black powder coat arrived in 100% pristine condition with zero scratches, scuffs, or bare metal rubs.
Hooke Road Gladiator Rear Bumper Review: Assembly & Sensor Fitment
The bumper went together cleanly on the floor, but transferring over the factory electrical components required some patience and careful thread alignment.
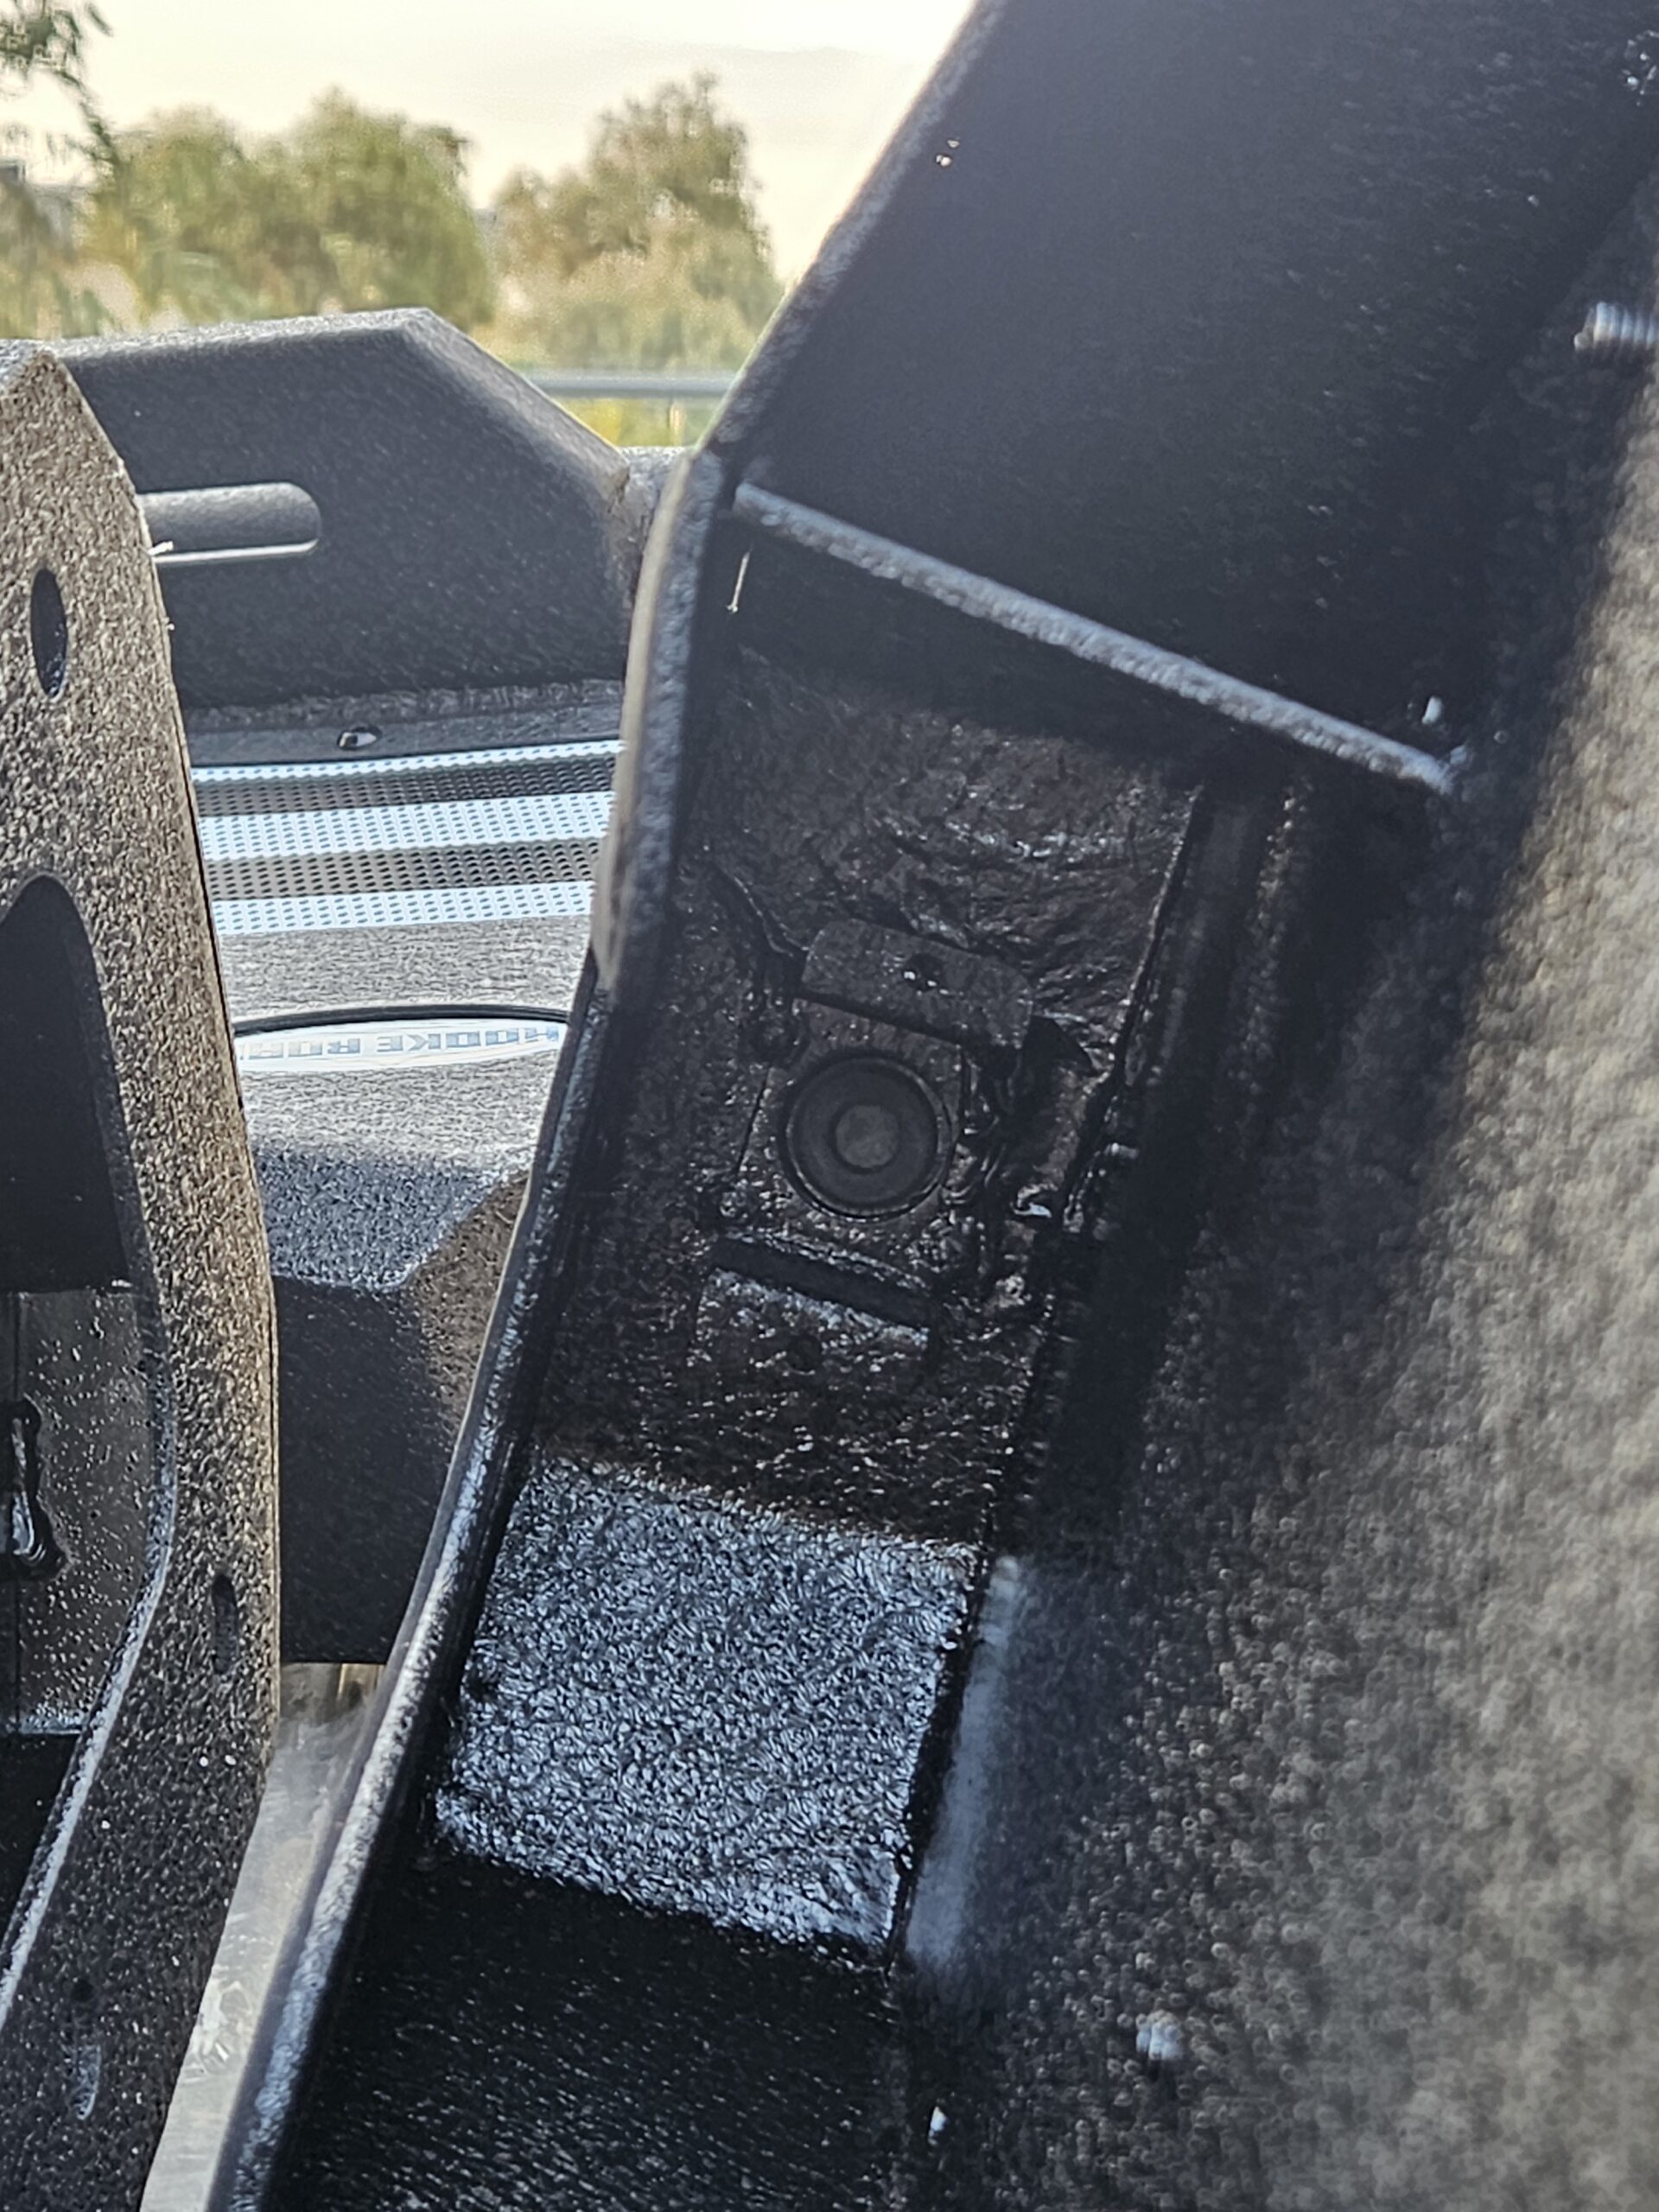
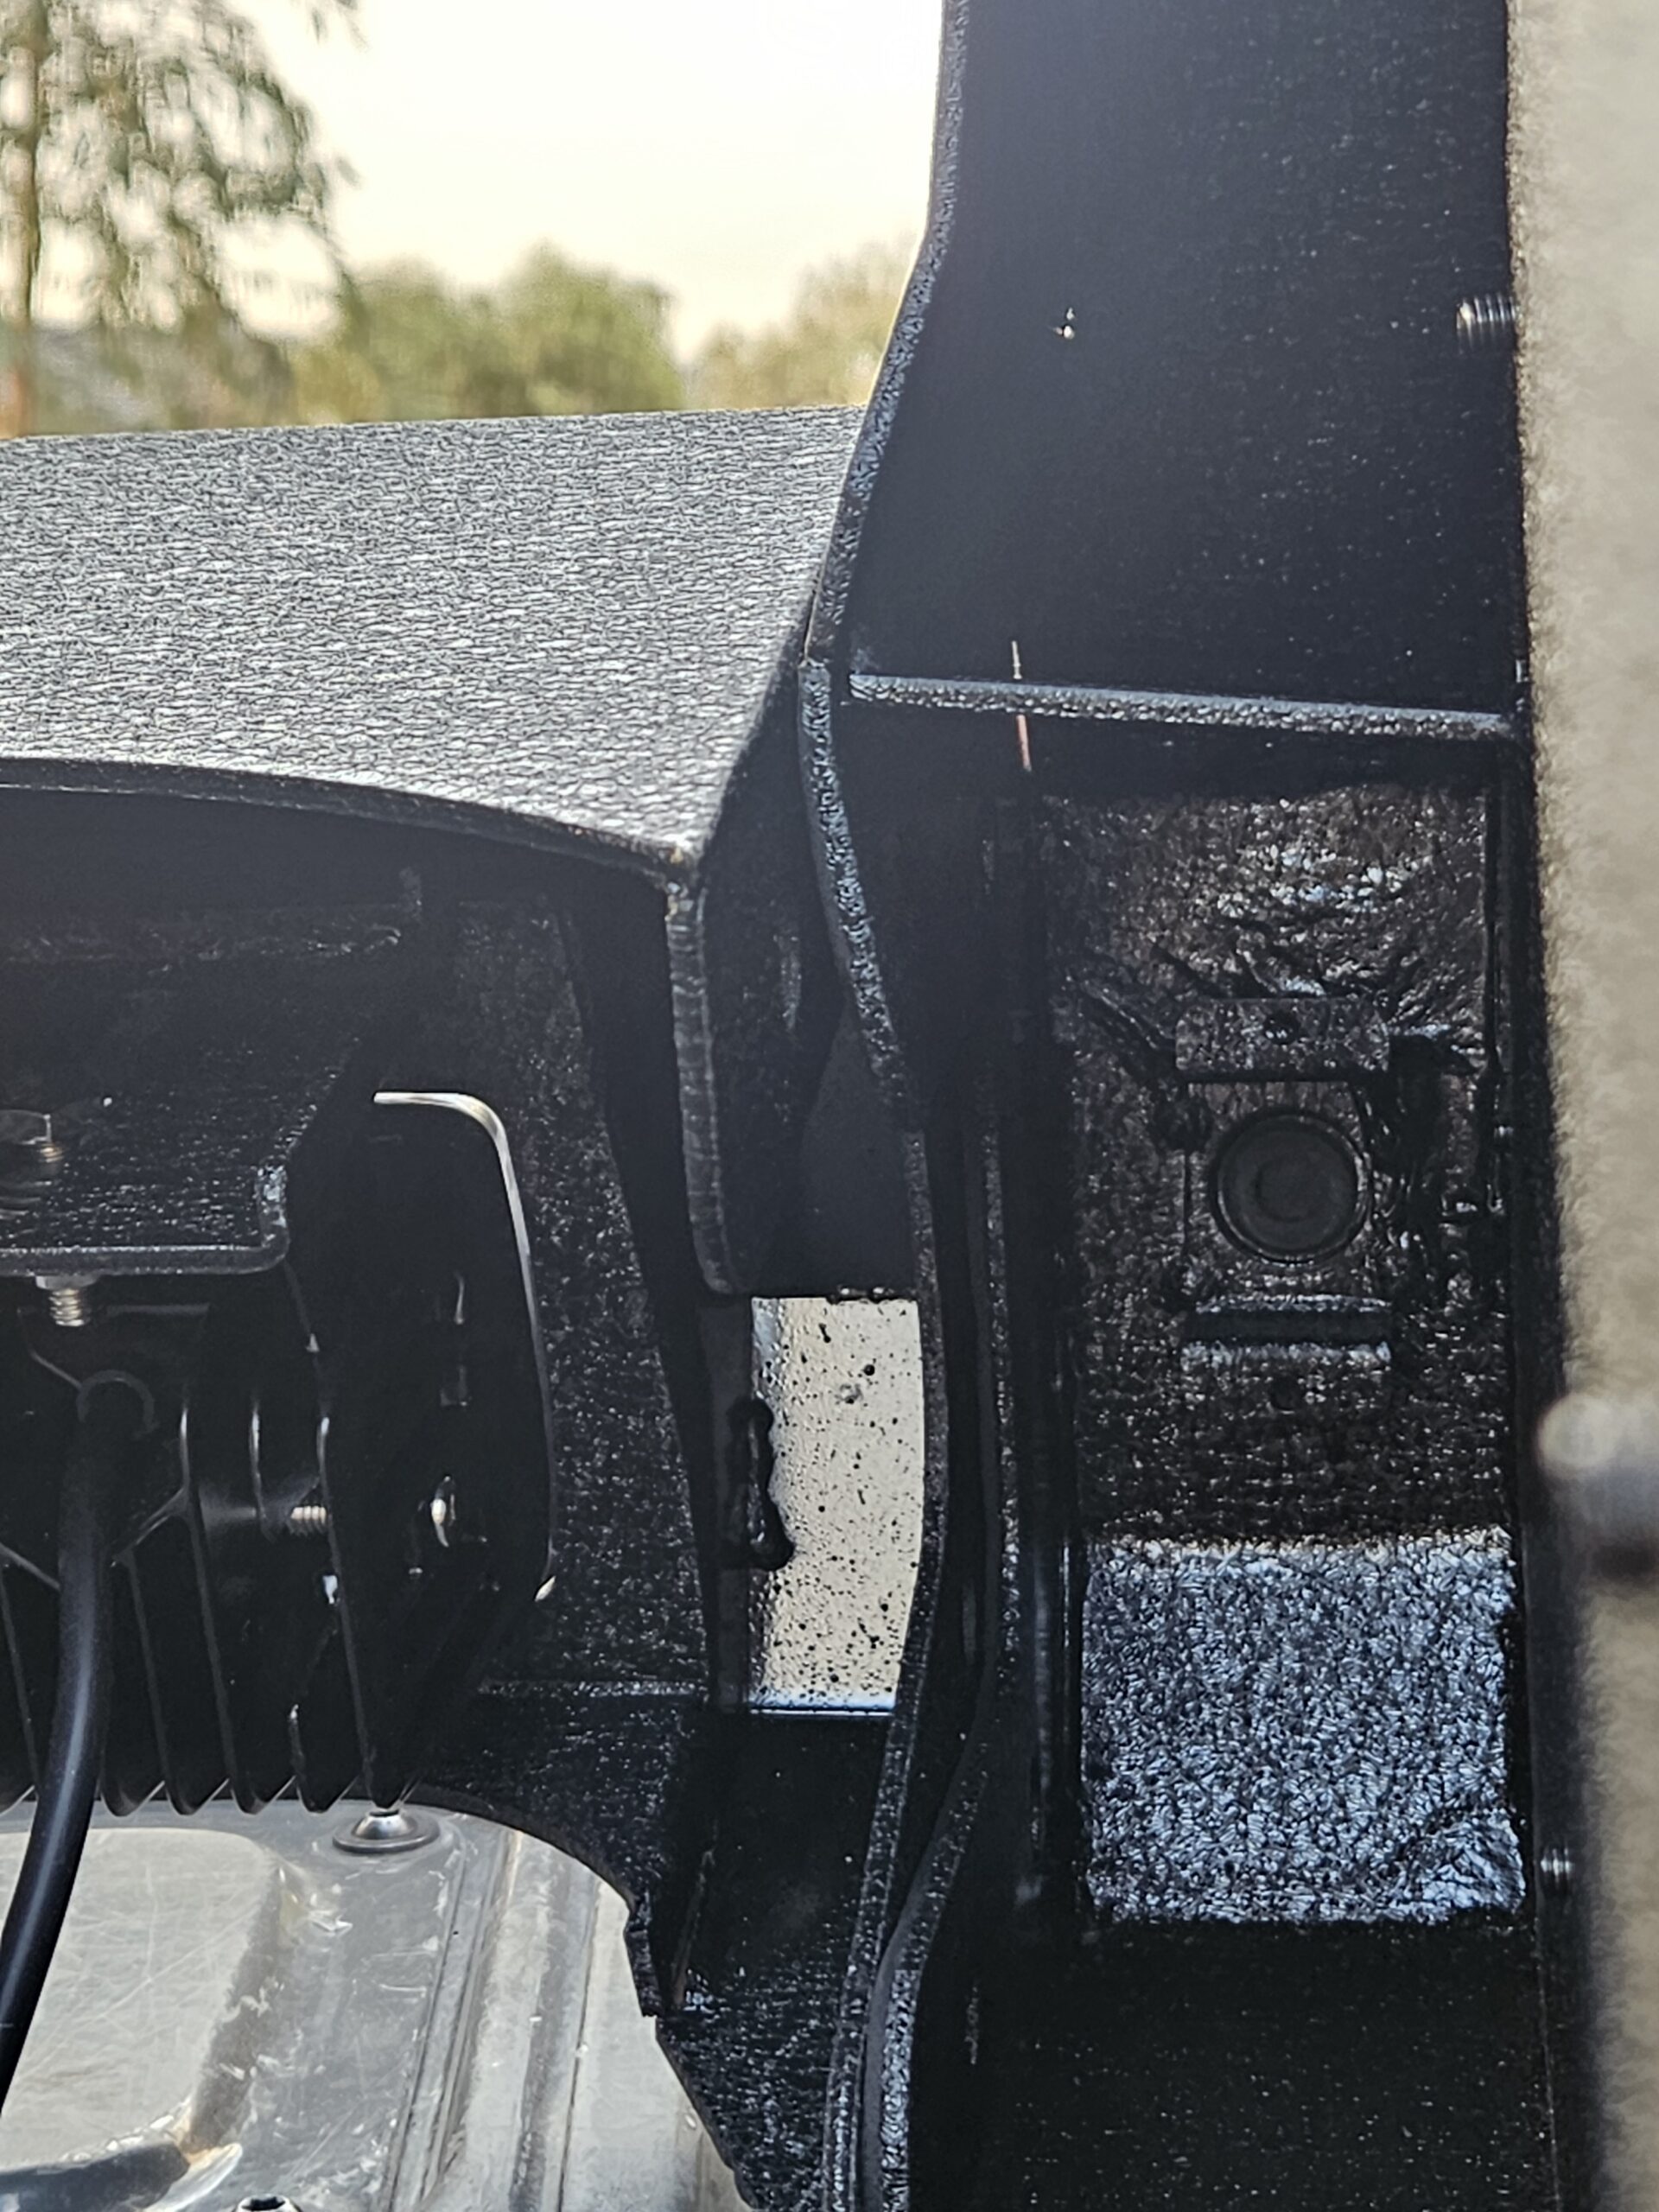
- Factory Backup Sensors: The factory parking sensors popped out of the OEM plastic bumper easily without breaking tabs. The Hooke Road unit uses bolt-on metal retaining clips that clamp the sensors securely inside the steel housing. The pre-tapped screw holes on the sensor brackets had tight, rough threads from the powder-coating process, but taking it slow prevented cross-threading.
- 4/7-Pin Trailer Plug & Factory Hitch: The factory Class IV hitch receiver is mounted directly to the frame, and the new bumper body wraps around it with clean clearance. The 4/7-pin trailer wiring socket popped out of the original plastic bumper with ease and snapped directly into the new cutout.
- Spare Tire Winch Access: The access hole aligns directly with the factory guide tube above the receiver, leaving open access to lower your spare tire without removing armor.
Installation, Modifications & The Sport S Frame Mount
The most critical technical finding in this Hooke Road Gladiator rear bumper review centers on frame-horn fitment across different JT trim levels. Getting the bumper onto the frame horns required solving a major trim-compatibility hurdle.
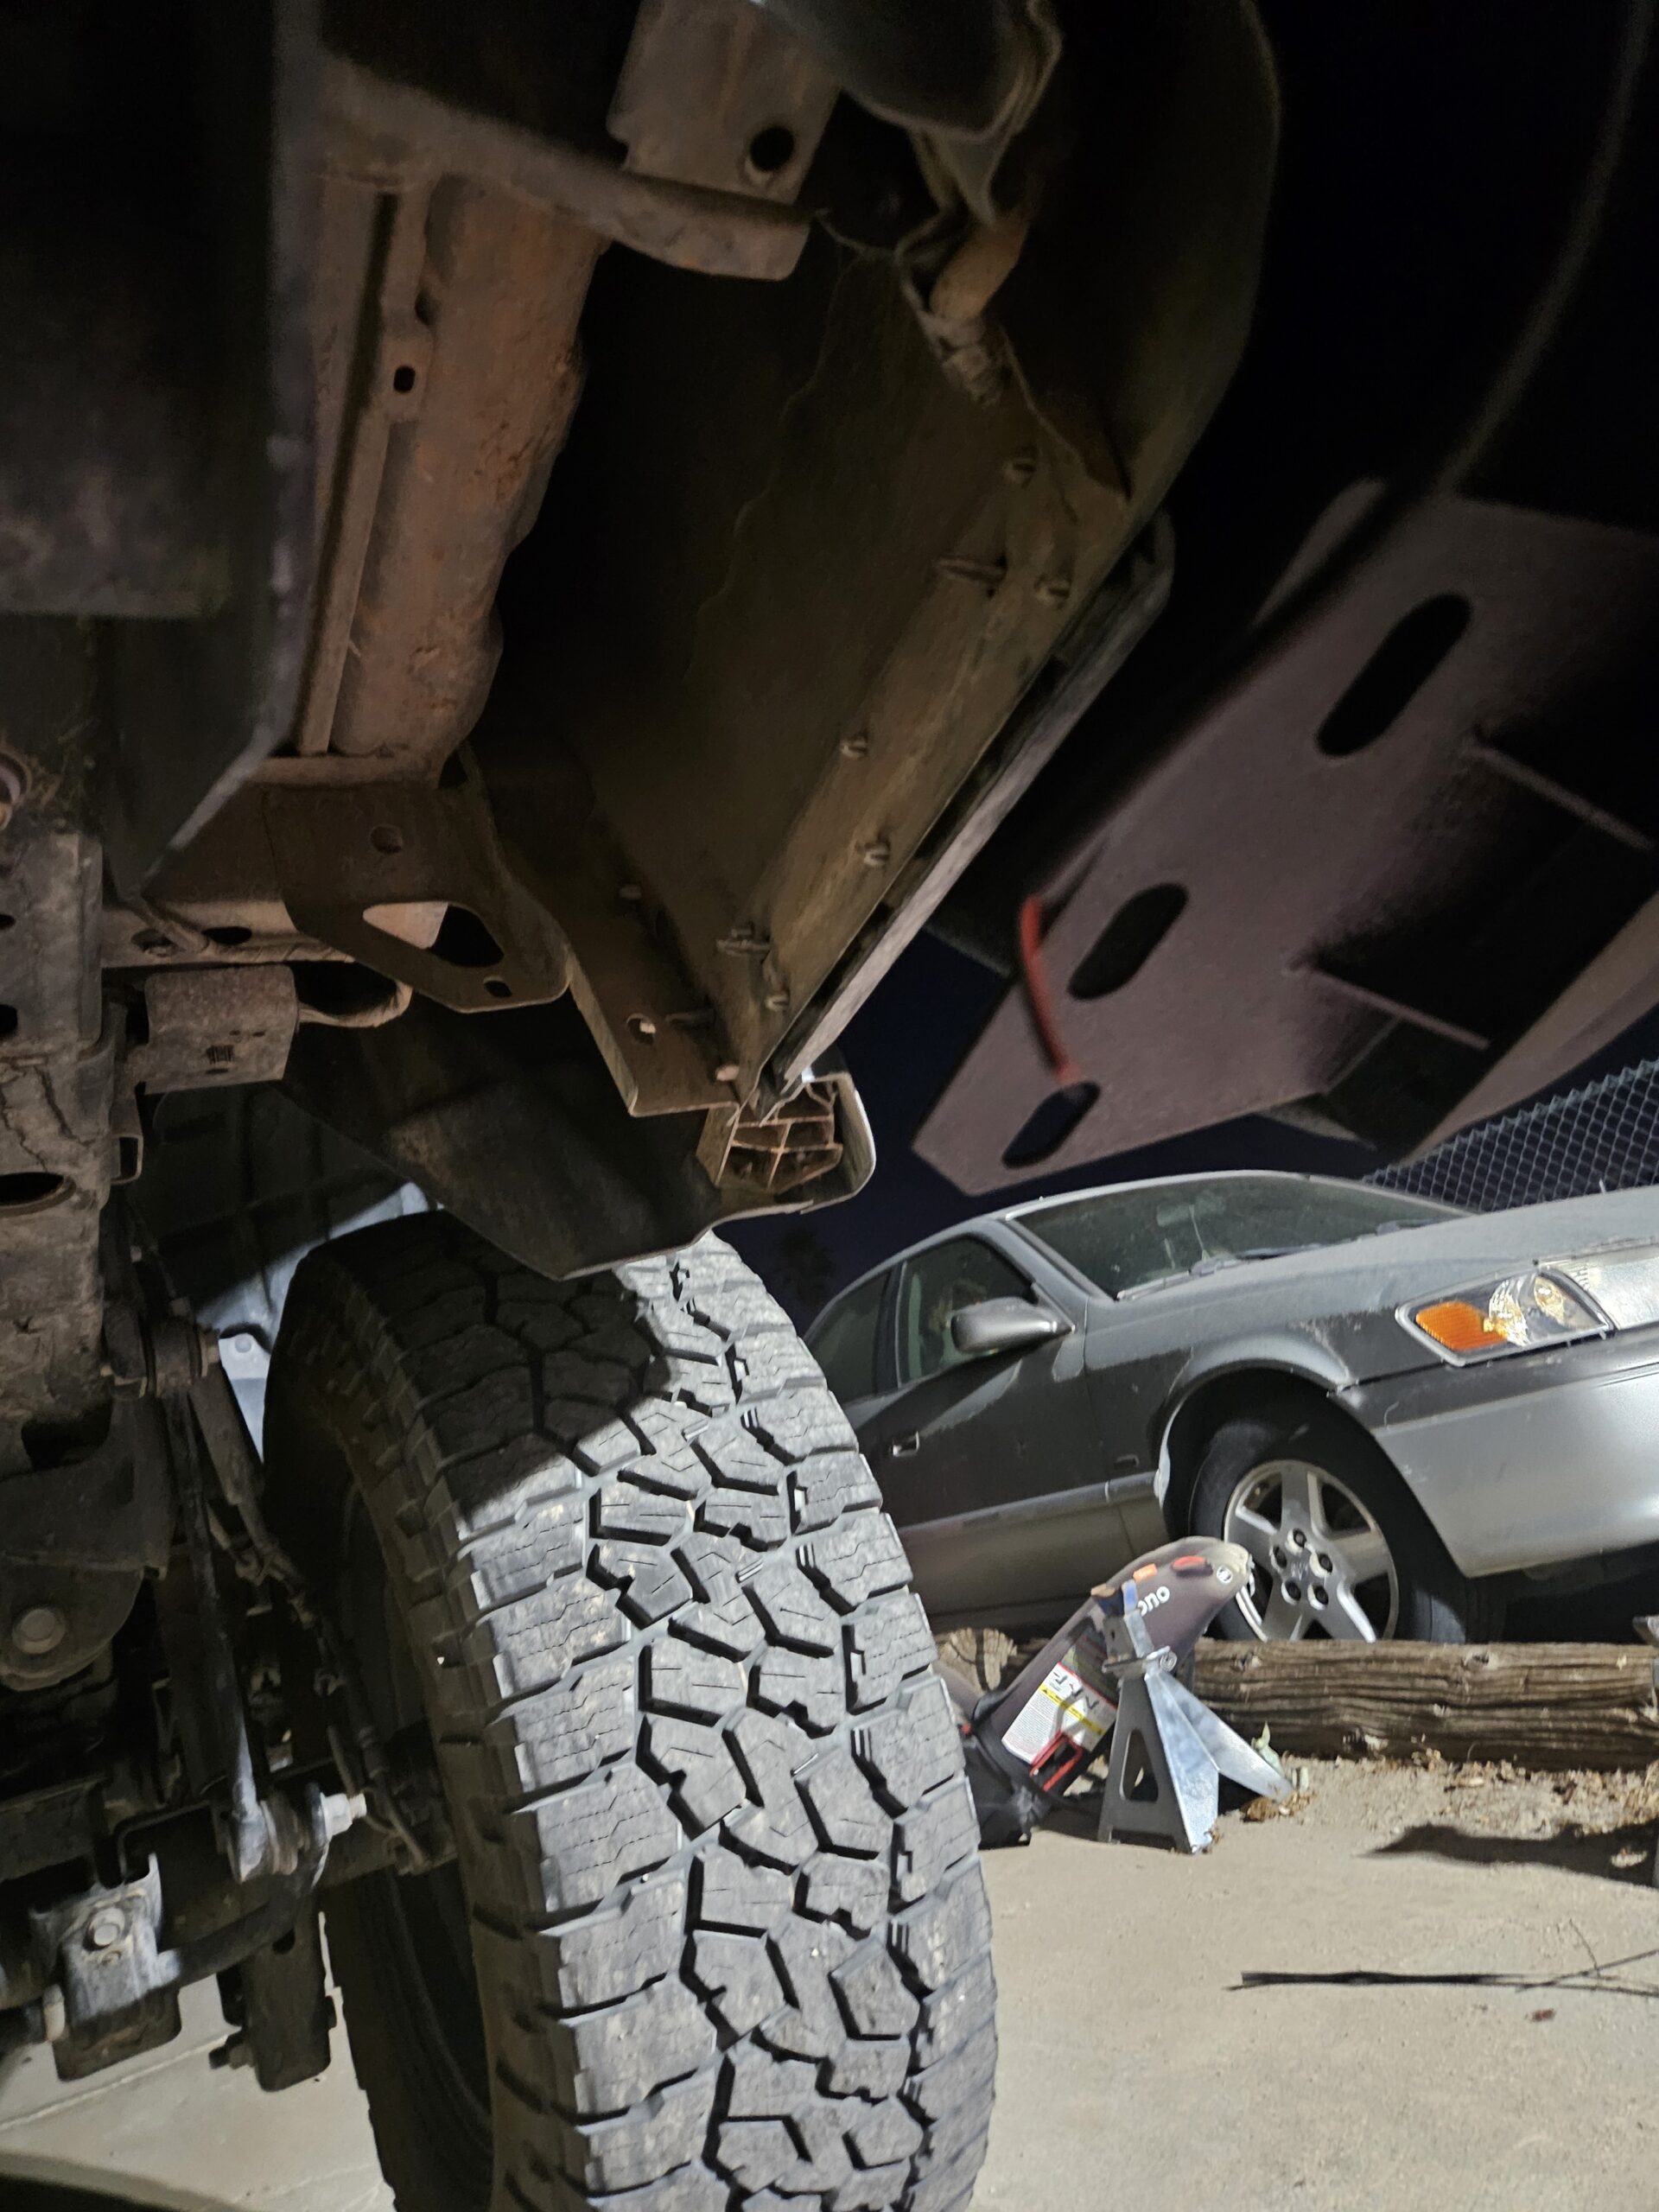
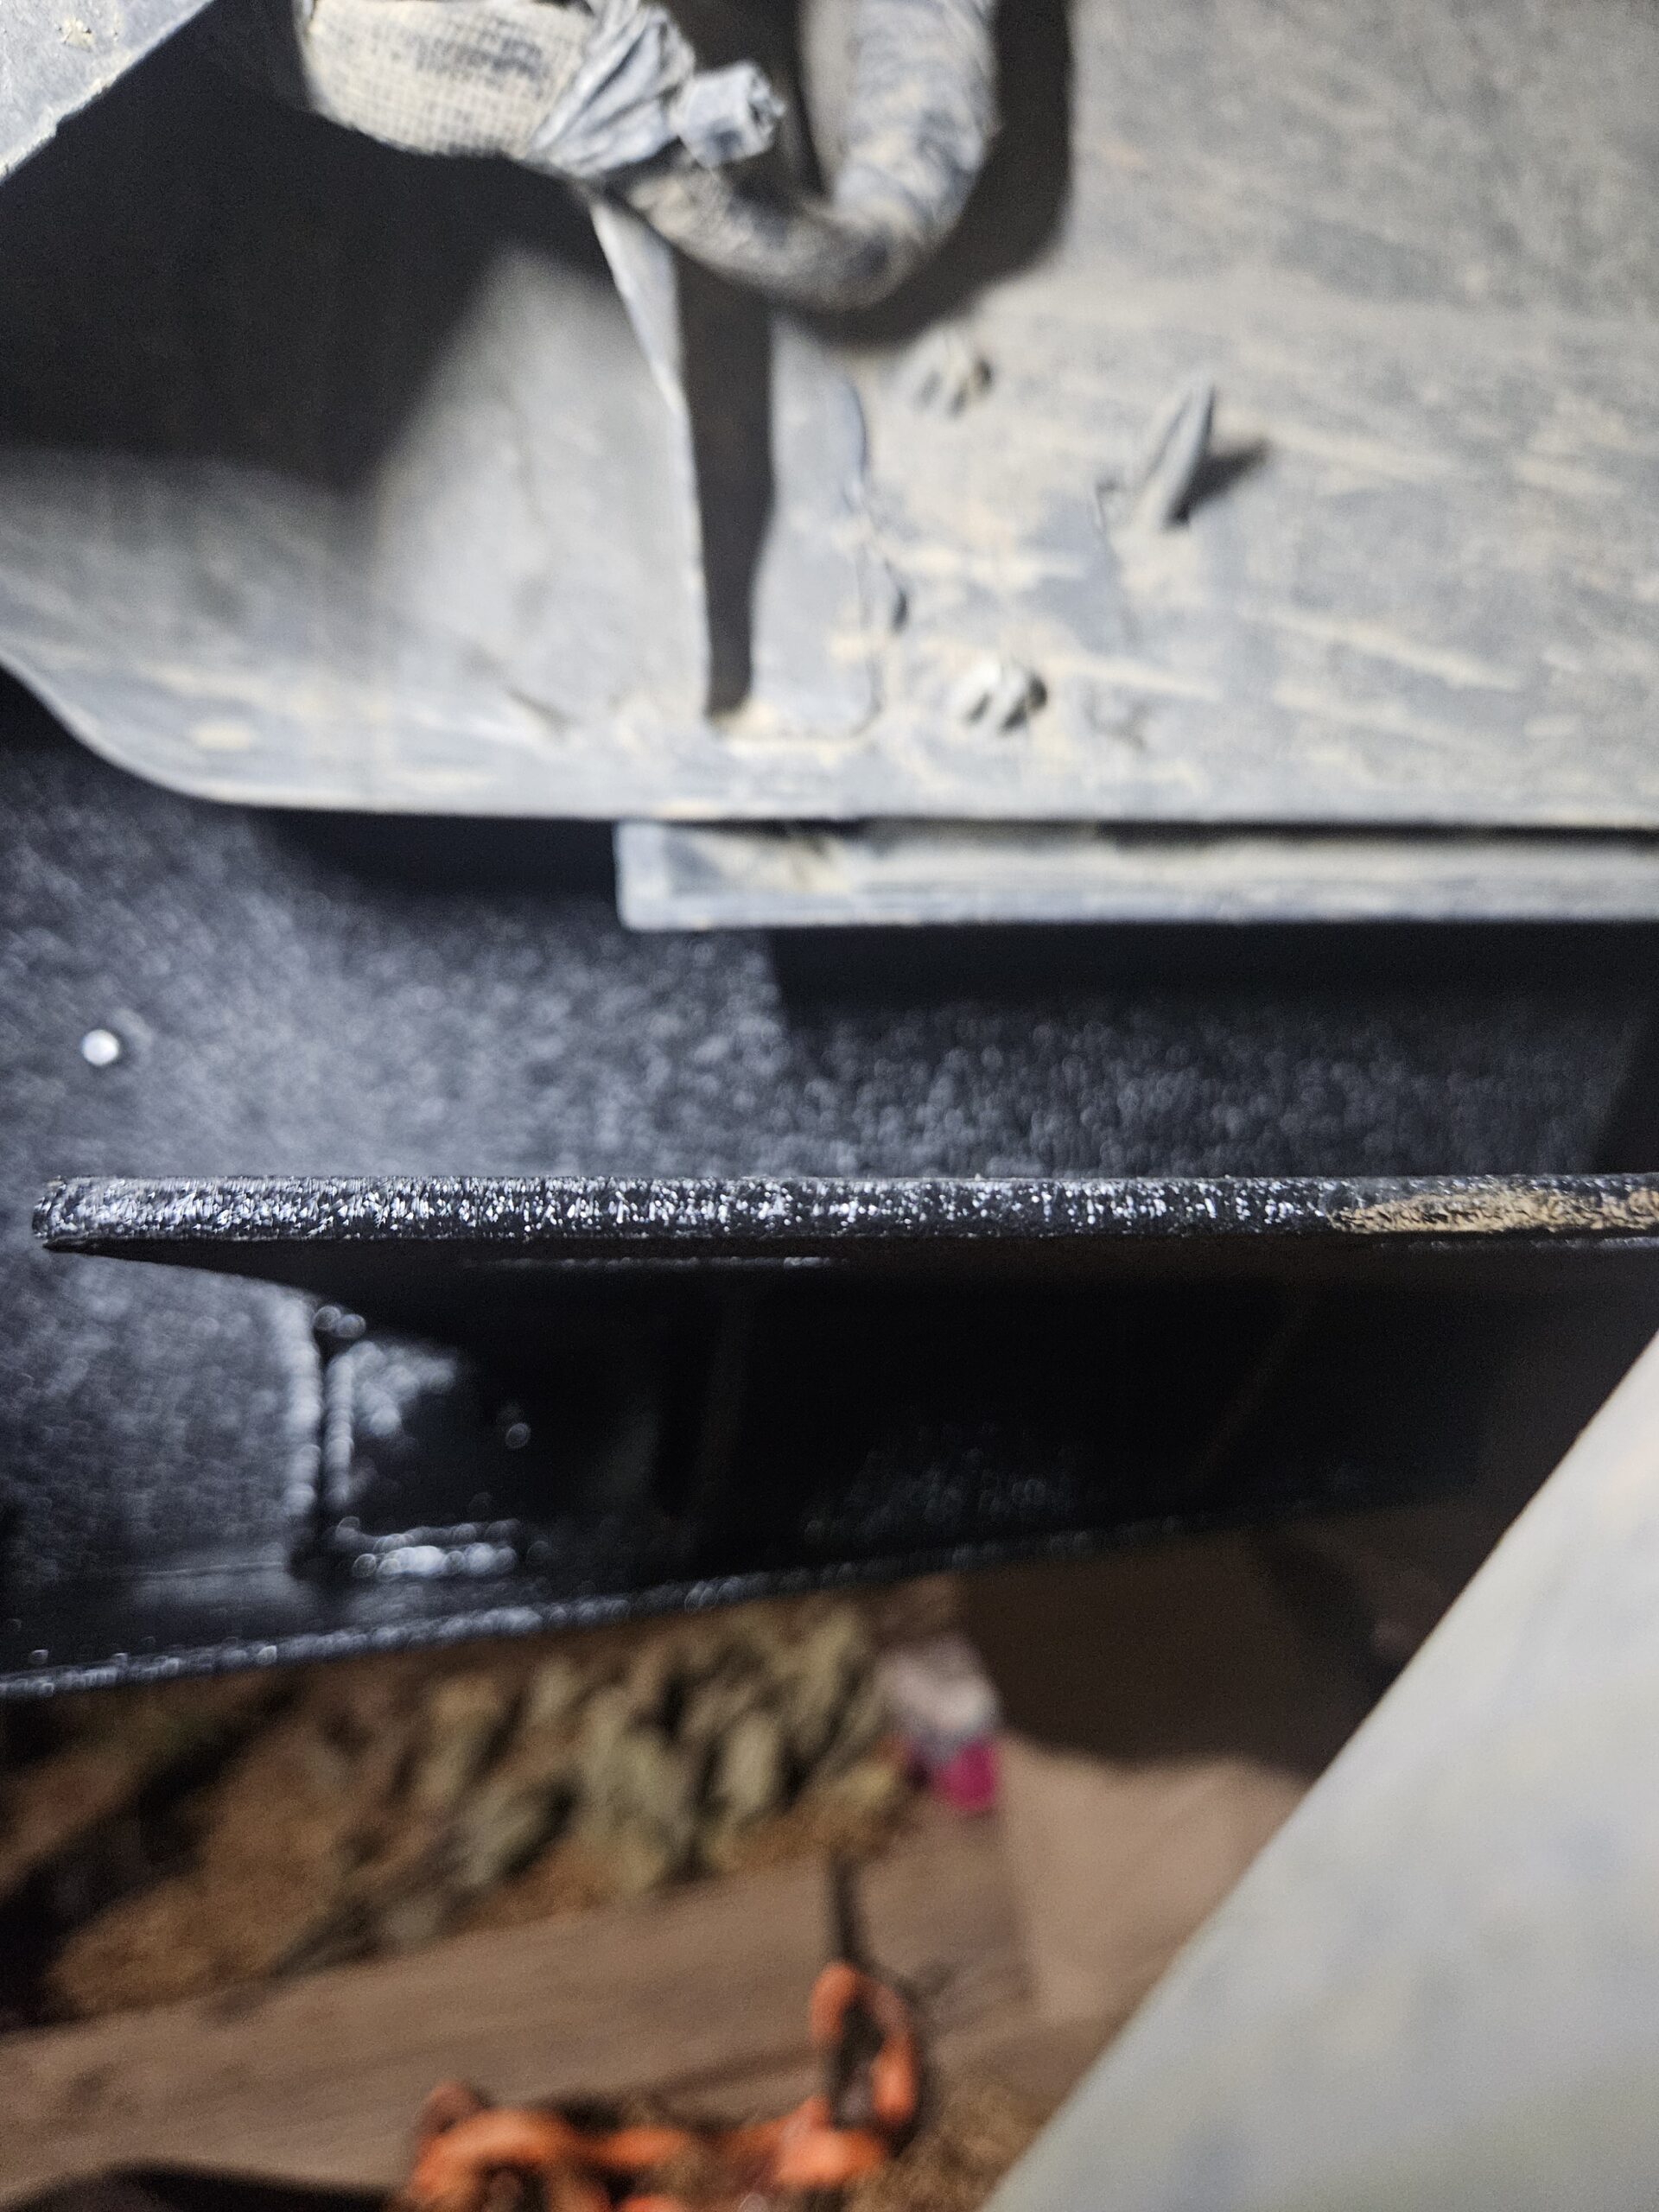
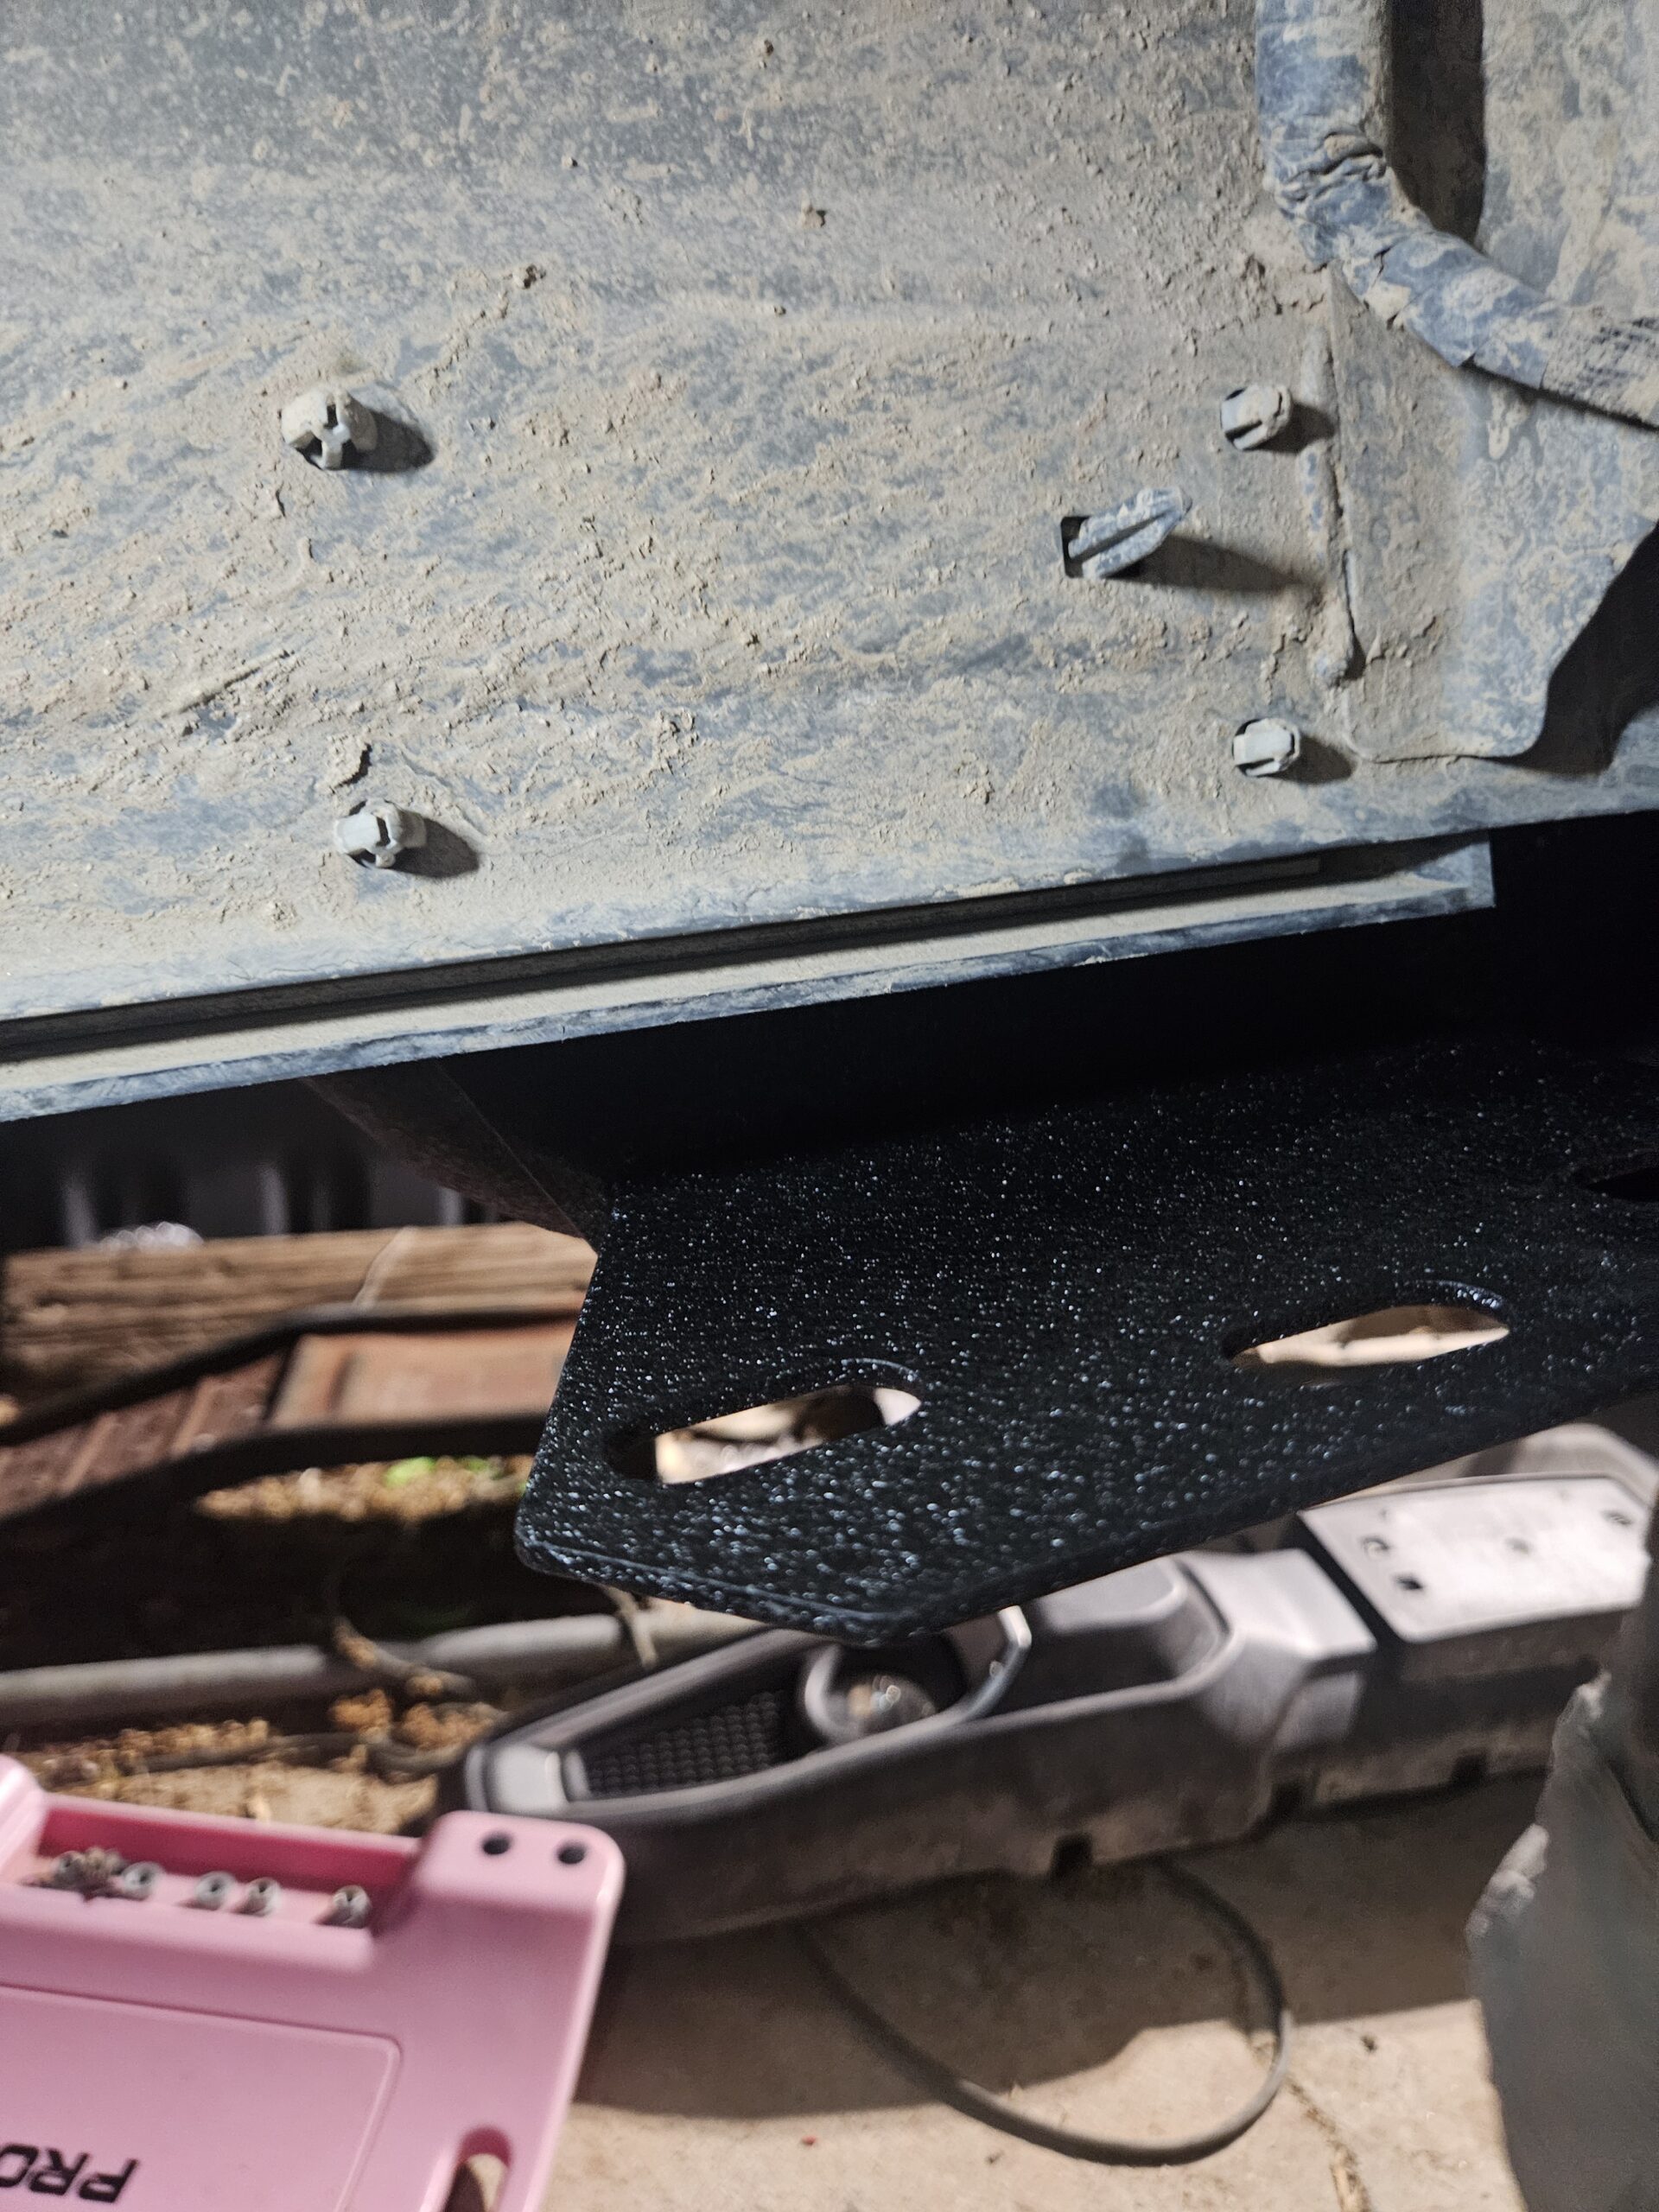
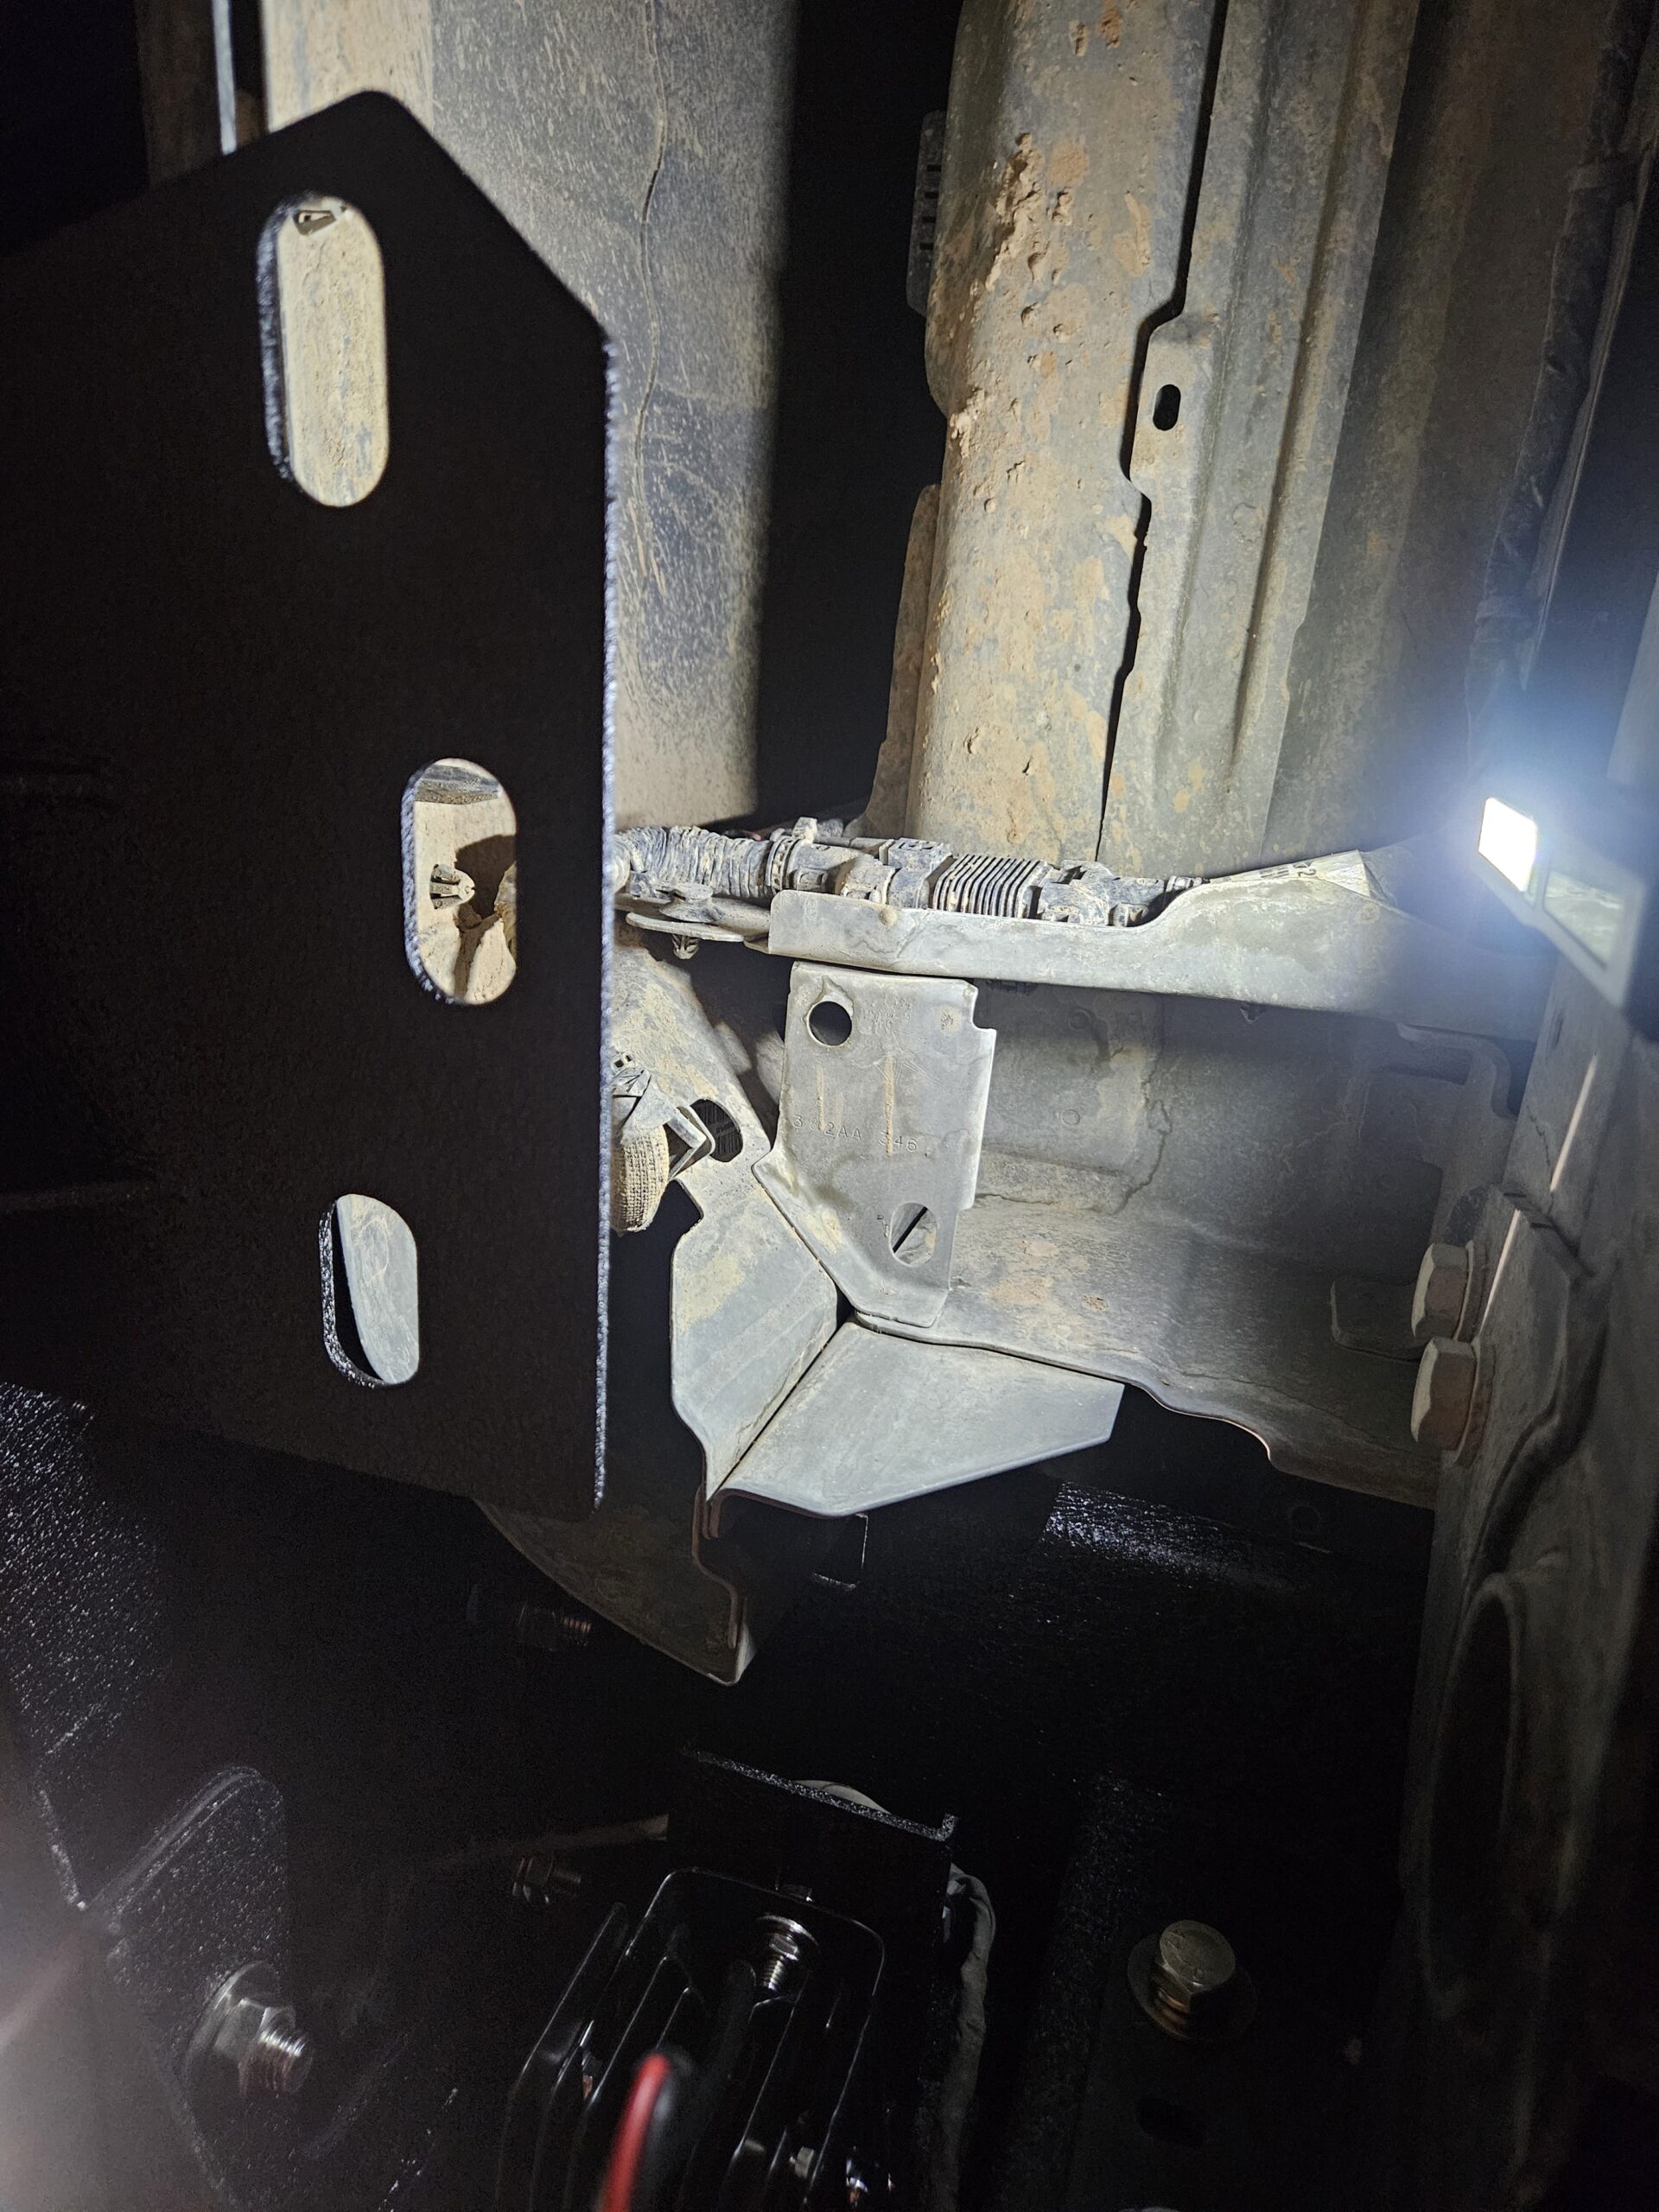
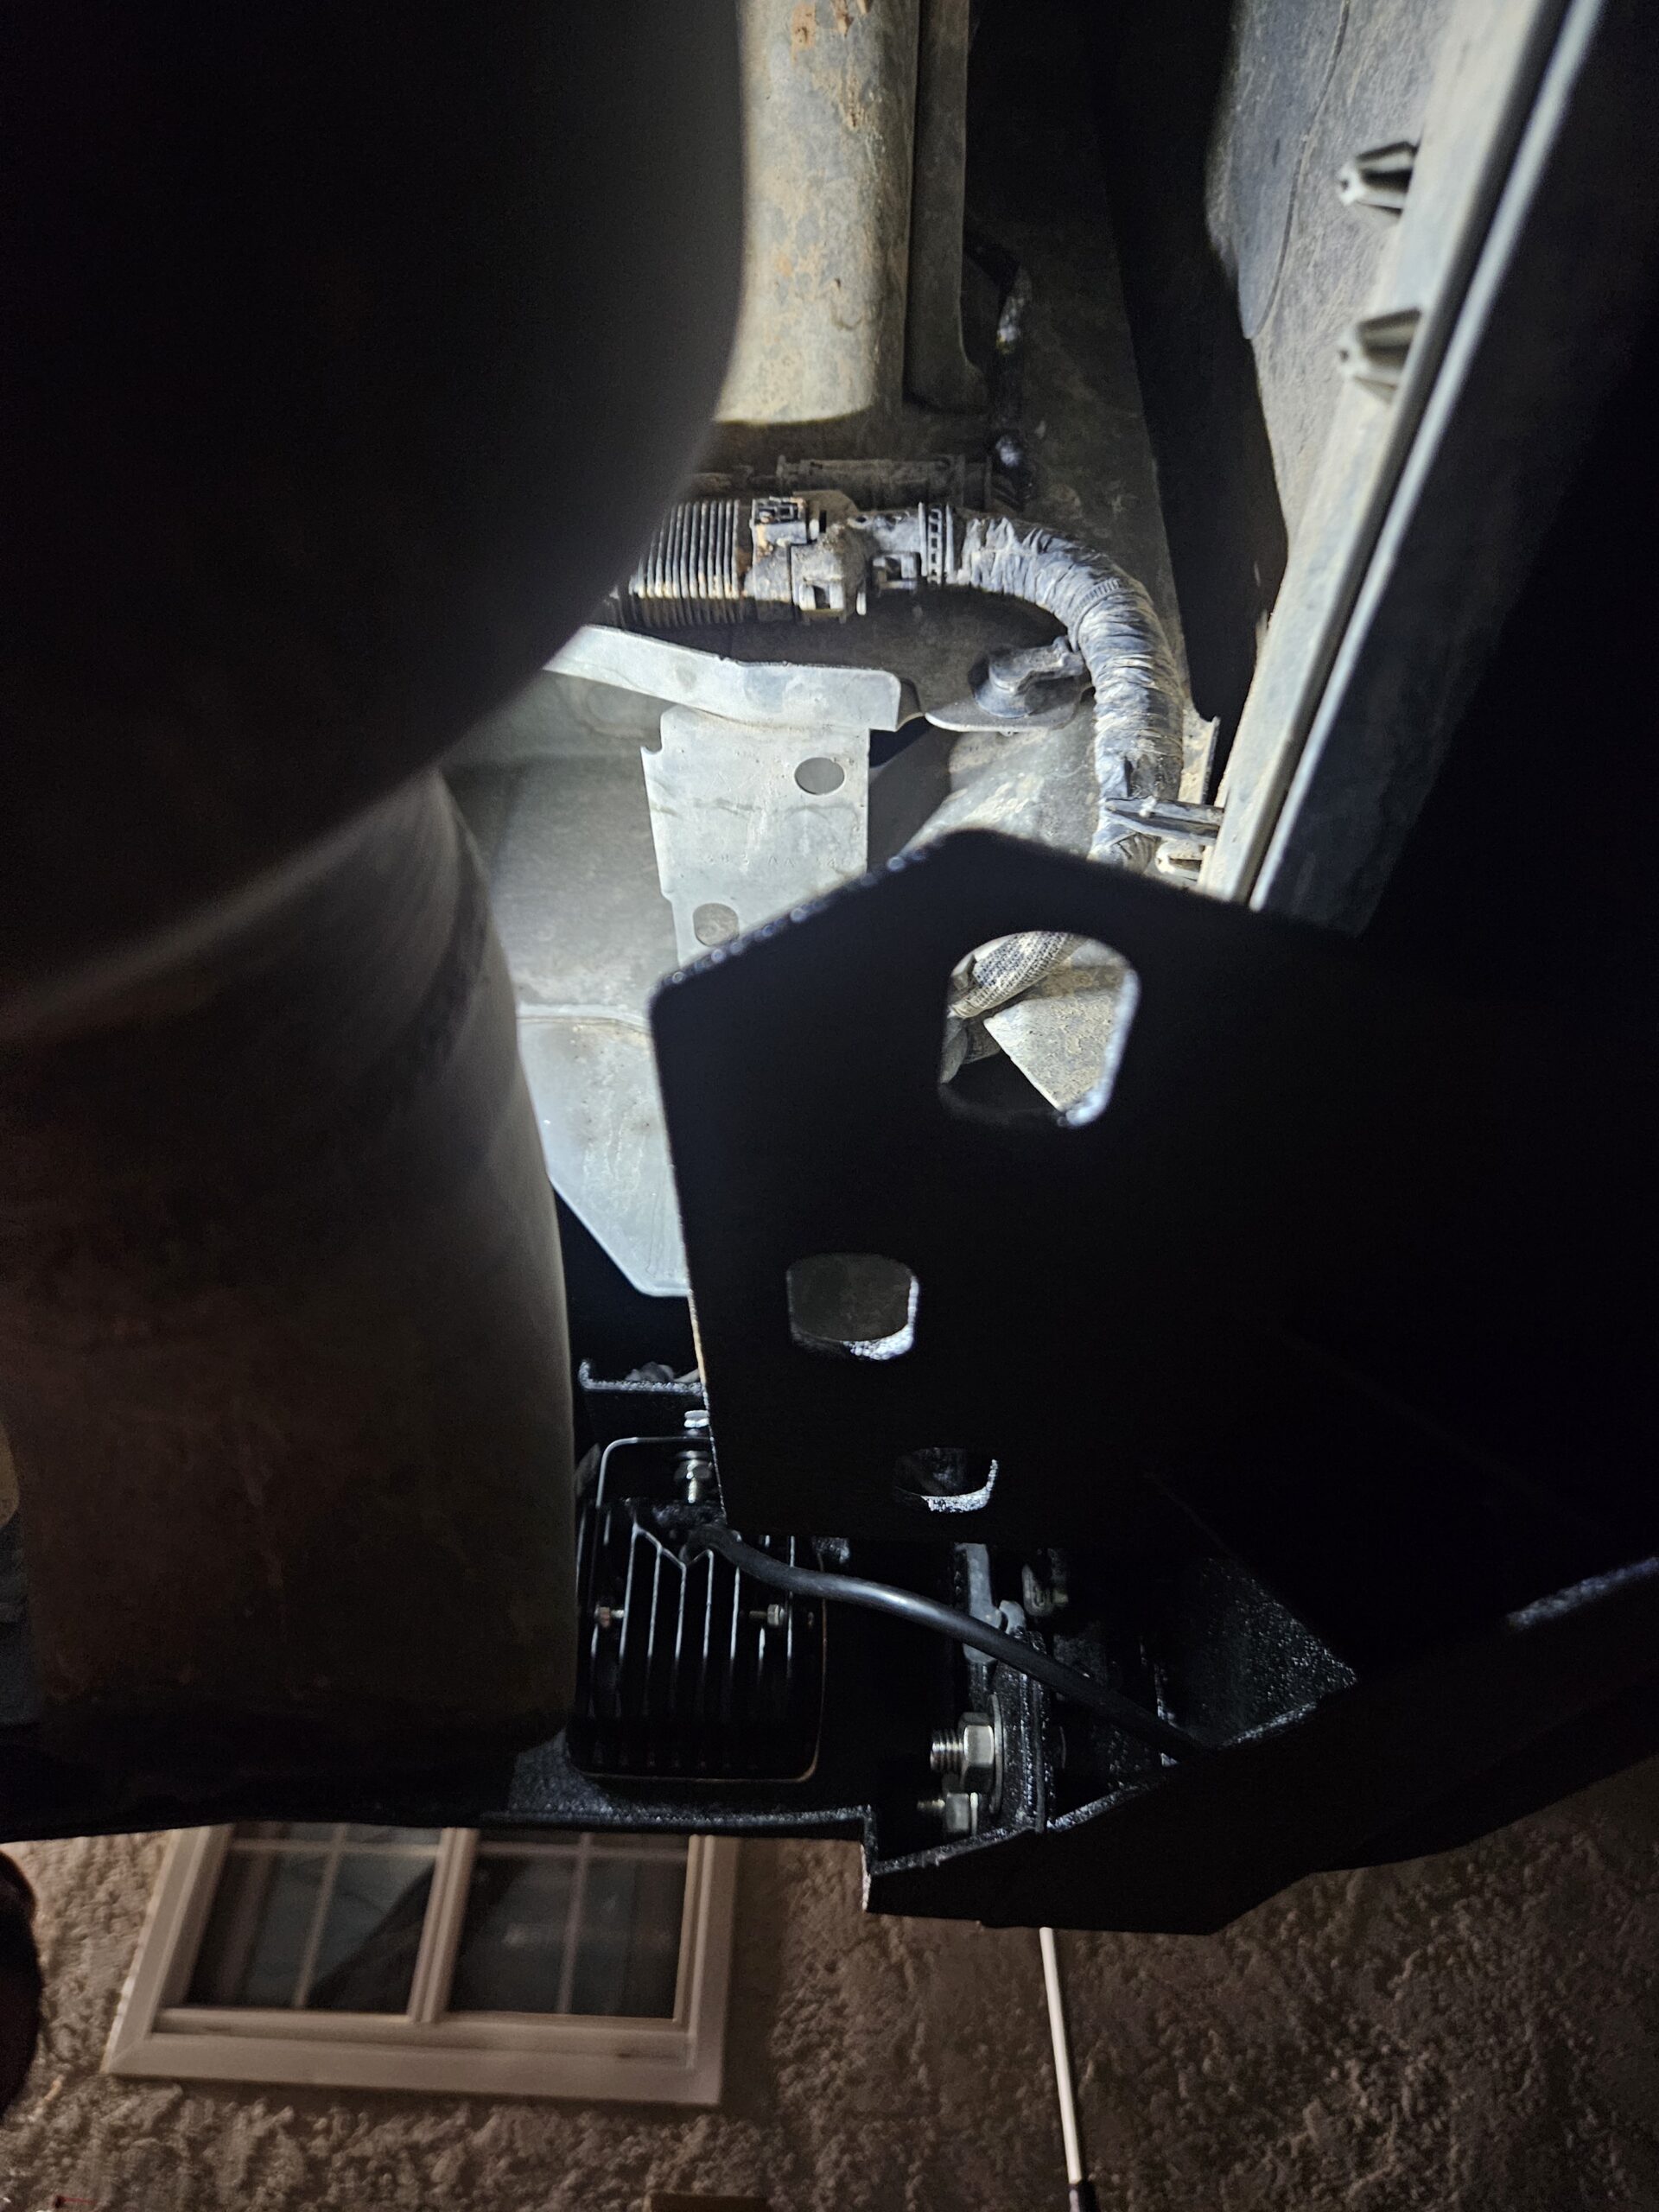
- The Missing Factory Mounts: The product is specifically designed for JT models with OEM rear bumper frame mounts. Rubicon and Overland trims leave the factory with these steel frame brackets, but Sport and Sport S trims omit them entirely. Because our Sport S lacked them, the bedside slider wings had nothing to bolt to underneath the bed and hung unsupported.
- Customer Support vs. The $150 Fix: When I emailed Hooke Road customer service, they told me I needed to source OEM Mopar frame mounts (Part #68356519AA) and linked an aftermarket site listing them for $239.00. Instead of paying dealer pricing, I found dedicated Hooke Road JT Rear Bumper Frame Mounts on Amazon for just $87.99. They feature the exact same matching textured black powder-coat finish as both the front and rear bumpers.
- Rigid Bedside Steps: Once the Hooke Road frame brackets were bolted to the frame, the bedside slider steps locked in solid. Under full body weight, there is zero flex, give, or bounce when using the side wings as steps to access the truck bed. Plus, the American flag cutouts in the side wings look sharp and orient in the correct direction on both sides.
Lighting Output & Wiring
A key electrical consideration in our Hooke Road Gladiator rear bumper review involves wire routing. Much like organizing cabin wiring on our Overhead MOLLE Panel System and running auxiliary power for our Hooke Road Stubby Front Bumper, running the rear lighting required custom wire routing.
- License Plate Light (Dorman Fix): The supplied LED license plate light does not plug directly into the factory Jeep connector. I tapped directly into the factory license plate light harness using a Dorman Conduct-Tite Twist Connector (Part #85017) picked up at a local auto parts store.
- Silicone License Plate Frame: To protect the textured black powder coating from metal-on-metal rubbing and keep the plate itself from bending, I added a wrap-around silicone license plate frame before bolting it down.
- Flush-Mount LED Pods: The 25W flush-mount LED spotlight pods arrive pre-installed in the bumper housing. Like the front bumper, the wiring leads are very short. Instead of splicing into the factory reverse circuit, I extended the harness and ran them to a dedicated switch panel for independent control at camp or on the trail.
- D-Ring Shackle Isolators: The included 3/4″ D-rings mount cleanly into the welded recovery tabs, but steel-on-steel shackles rattle continuously on washboard dirt roads. Adding rubber isolators and silicone washers eliminates all road noise.
Real-World Trail Performance & Camp Utility
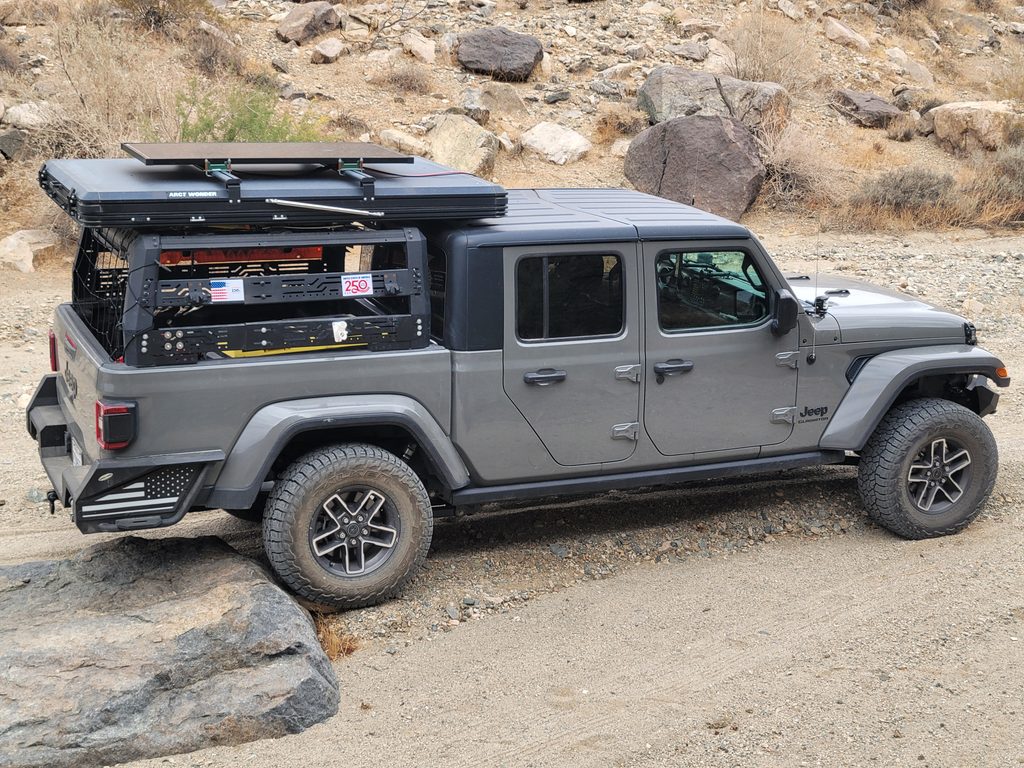
Putting real desert trail miles on the rig for this Hooke Road Gladiator rear bumper review showed that the 11-gauge steel holds up remarkably well across rough terrain, camping setups, and everyday hauling:
- Trail Clearance & Departure: The 11-gauge steel is holding up remarkably well. Because the bumper provides noticeably more ground clearance than the original factory plastic bumper, I haven’t even had to drag it as a rock slider yet. It does protrude slightly farther rearward than stock, but the textured powder coat has proven durable and offers dependable, non-slip foot traction even when wet.
- Roof Top Tent & Bed Access Steps: The integrated bedside slider steps have quickly become indispensable when packing down our Roof Top Tent. They provide a stable foothold to reach up and set up our Starlink dish, and they create a natural, safe transition step from the rear bumper to the rear tire whenever you need extra height to reach gear on the rack.
- Spotlight vs. Flood Beam Reality: Wired to their own cab switch, the integrated rear LEDs work great when backing up to hook up our trailer in pitch-black conditions. However, because they are narrow, long-range spotlights rather than wide floods, they throw a tight beam far down the trail rather than lighting up the broad perimeter around our campsite.
- Hitch Clearance & Mud Recoveries: I tow and hitch up our utility trailer frequently, and the ball mount slides into the receiver with zero issues. The fit between the receiver and bumper body is tight, leaving no extra clearance to slip in hitch-mounted auxiliary light brackets. During a heavy rainstorm, I used the 3/4″ bow shackles to pull several stuck vehicles out of the mud—the recovery points took the snatch loads without flinching. Adding rubber isolators is definitely a necessity to keep the shackles from rattling against the steel bumper on rough desert roads.
Weight & Suspension Considerations
At 107 pounds, lifting this rear bumper into place and aligning it with the frame horns is definitely a two-person job.
No Hooke Road Gladiator rear bumper review would be complete without evaluating how the extra 107 pounds impacts handling. Interestingly, adding that steel footprint actually smoothed out the Gladiator’s rear ride quality over harsh washboard roads, with virtually no noticeable handling penalty on the highway. Combined with our 90-plus pound front stubby bumper and a Badland Apex 12,000 lb winch on the nose, tuning our stance with Fox 2.0 Performance Series Shocks and Clayton 1.5″ Rear Coils keeps the loaded armor planted and trail-ready.
Pros & Cons
Here is the side-by-side takeaway from our hands-on Hooke Road Gladiator rear bumper review:
Pros:
- Full Bedside Quarter Protection: Heavy steel wings wrap around the bed corners to guard against rock rash and trail obstacles.
- Invaluable Bed & Tent Steps: Rock-solid slider wings make deploying the Roof Top Tent, packing gear, and setting up Starlink effortless.
- Superior Packaging: Expanding molded foam protected the textured black powder coat 100% during transit.
- Smoother Ride Dynamics: The added rear weight settled down the rear axle over harsh, dry washboards.
- Tough Recovery Points: 3/4″ D-ring mounts handled multiple heavy vehicle mud extractions without issue.
- Aggressive Styling: Clean lines with laser-cut American flag wing accents oriented correctly.
Cons:
- Requires Frame Mounts on Sport S: Sport and Sport S trims require purchasing separate frame brackets to secure the slider wings.
- Spotlight Instead of Flood Beam: The included 25W pods throw a focused long-distance spot rather than a wide camp flood pattern.
- Tight Receiver Clearance: Leaves no gap between the receiver tube and bumper body for hitch light brackets.
- Un-isolated Shackles: D-rings rattle continuously against the powder coat unless aftermarket rubber isolators are added.
- License Plate Light Wiring: Requires splicing into the factory wiring harness with aftermarket connectors.
- Sensor Screw Threading: Rough powder-coated threads inside the sensor clip holes require careful alignment.
The Verdict
To wrap up this Hooke Road Gladiator rear bumper review, the Aftermarket Rear Bumper with Bedside Slider Steps delivers great bedside protection, dependable recovery points, and useful integrated bed steps.
Just make sure to check your trim level before ordering: if you drive a Sport or Sport S, you must budget for the additional frame mount brackets to properly anchor the bedside wings. Grabbing the Hooke Road JT Rear Bumper Frame Mounts on Amazon for $87.99 instead of the $239 OEM Mopar option keeps the cost down while maintaining a matching powder-coat finish. Add a Dorman twist connector for the plate light, slip rubber isolators onto your D-rings, and you will have a trail-ready rear setup that looks great and handles real abuse.
- Product Build & Trail Functionality: 4.8 / 5 Stars
- Packaging & Shipping Protection: 5.0 / 5 Stars